Wednesday, February 29, 2012

Elmer's glue as a crackle medium.

Hello everyone.  I promised that I would post more in depth pictures and tutorials this week, so here is a tutorial on how to use Elmer's gel school glue as a crackle medium.
 I know that a lot of you have seen the official Elmer's glue tutorial where the demonstrator  paints a wooden, plastic, or ceramic item with paint. Then puts on a thick coat of the regular white glue in a small spot (to prevent drying) with her finger, then paints it quickly with a thin coat of paint and uses a blow dryer or heat tool to dry the item and viola you have a wonderful crackle finished item. If you haven't you can click HERE.

  Simple, easy and not to complicated right??  Then why you might wonder am I doing  a tutorial. I mean I already told you how, right?? Well, like I said that is the official instructions from Elmer's Glue.

 I do it a little different. I know it is hard to believe, but my way is even simpler. It does take a bit more time I will admit. It does not however need** a heat source and it can be used a paper and many other surfaces.  Sounds great right?? It is, it really is.

How to get that crackle look with Elmer's gel glue.
 Materials you will need are:
Elmer's gel glue
 2 Acrylic paints of contrasting colors
paint brush or two
water
towel and the item/s that you wish to crackle

1. pick the object you wish to crackle. I will show you three finished pictures at the end of this post of how the crackle looks on wood, chipboard, and on paper. I also have a sheet of paper that I experimented on with some other paints and I used the the wet glue with a heat source and my preferred  method.
                                                        This is a chipboard banner.
                                                       Piece of kraft card stock
                                                   A rock I found on the beach a few years ago. It totally reminded me a foot, so I painted a flip flop top and toe nails on it.  I am not going to paint over the top I am going to paint the other side. This side is way cuter though.

2. paint or stain a contrasting color to the paint you wish to show case. Example if you want the object to be white you want a dark color as the base coat or stain and the opposite if the object will be a dark color.
Use acrylic paints for this. I have used a product called antiquing medium as the base coat/color.
  The chipboard banner piece was painted to the black color you see above. The back of the stone was simply painted black.  This piece of paper was painted black on one side and stained on the other. Next, I painted Extreme glitter acrylic folk art paint on the stain side and folk art metallic acrylic paint in the color  emerald .

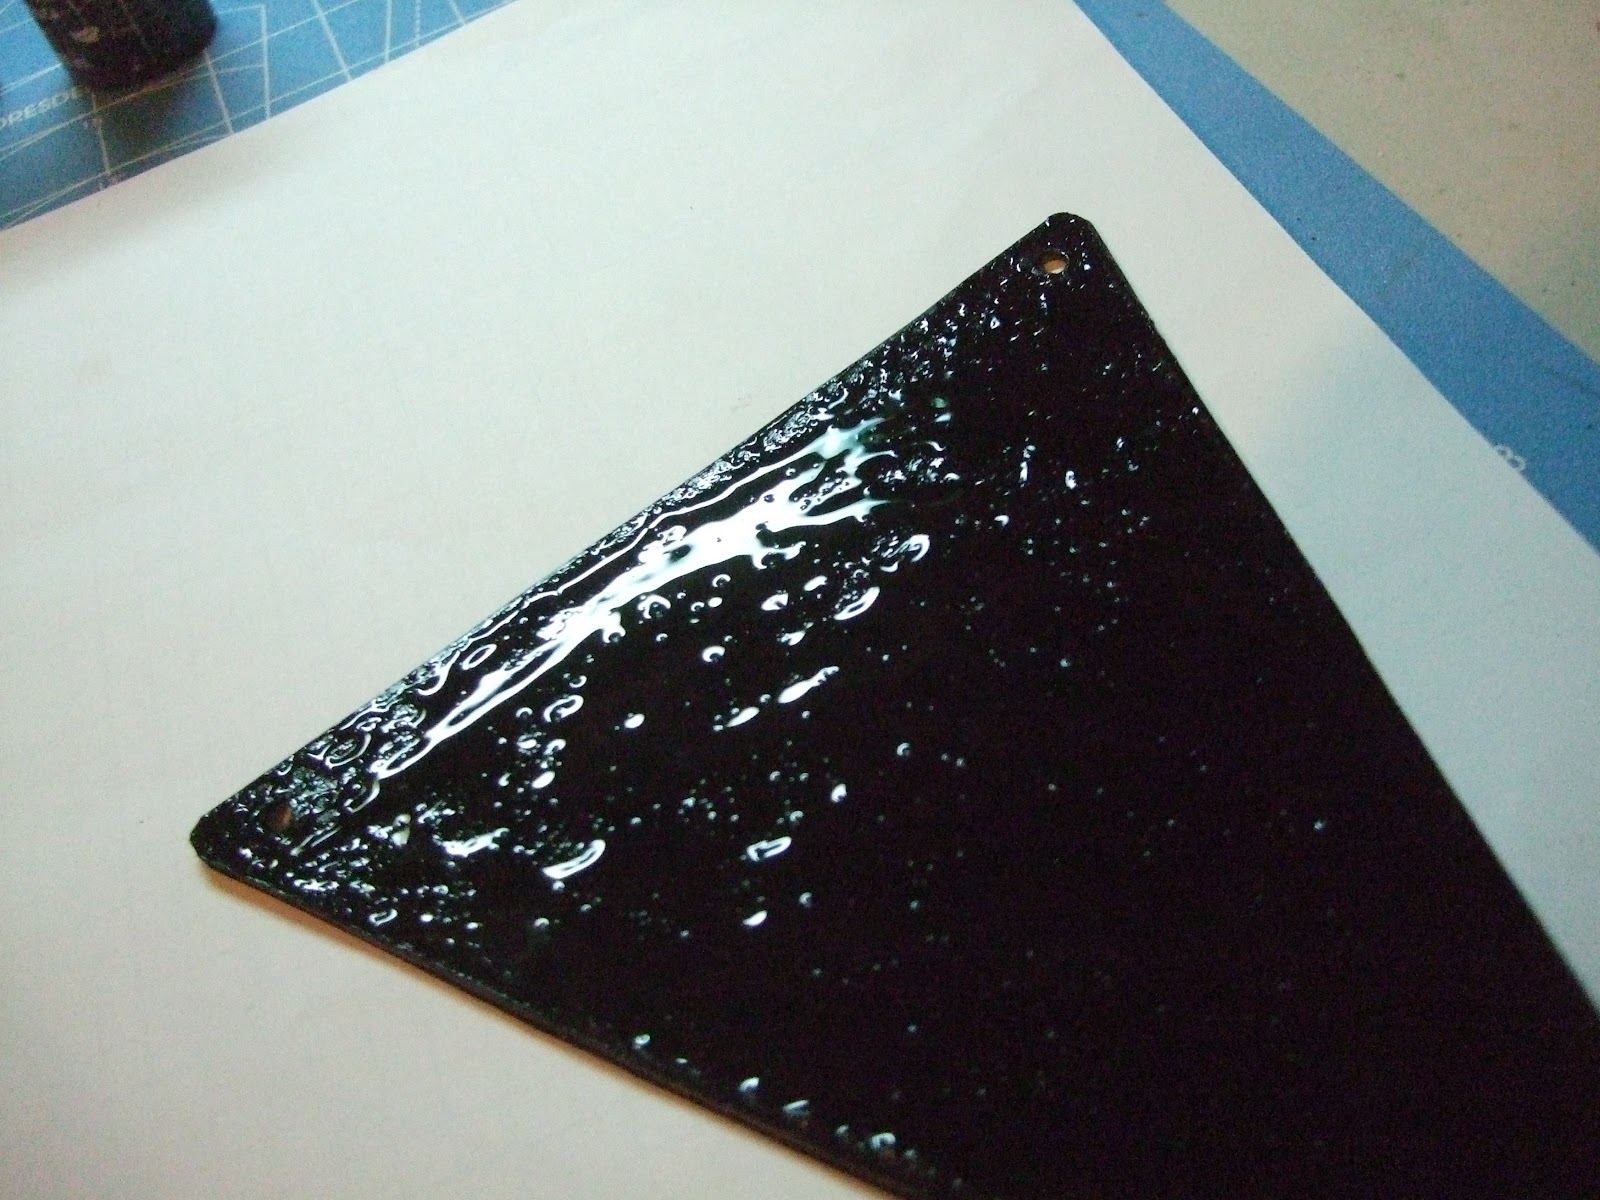
3. Once your paint,stain, or antiquing medium has dried, use a paint brush to  paint the Elmer's gel glue on top of the dry base coat. You want this glue to be about a medium thickness. Try to spread evenly. Now, let it dry completely. Drying time will depend on how heavy handed you were with the glue, your weather, and size of the object. I personally like to do this type of work in the evening or before bed then  put it up on my drying rack and have wonderful crafty dreams. (LOL)

                                               Nice fairly thick coat of gel glue.  Now, I have to tuck it away or tomorrow I will find it somewhere in the house with cat fur all over it or more likely a cat walking around with it stuck to them. LOL
 Here is our paper right after the glue has been applied.  ** If you are in a hurry you can dry the glue with a heat source. (shhhhhhh don't tell anyone you did) ;)

4. Once it is COMPLETELY dry you can paint over it with the paint you want to show on top. I have found that this happens quickly, so use a nice even quick stroke of medium thickness of paint. Do NOT go back over any of the painted area or you will cover up the crackle effect. I will also tell you that I find it best to stay in the same paint stroke direction.

                                                  Dry paper.
                                               The banner is dry. If you look at this pic and the finished picture you will that the bog spots are going to have less crackle(ing) to them, so if you don't like the pattern hit with a little more glue. You will find what works best for your projects.
                                                  I wanted to make sure I put in a picture of the paper with only one side glued, so that you could see the difference.
                                               Now, for the painting. I put a fair amount of paint on my brush.
                                         Here you can see that I am not even done and it is getting very crackled.

5. Let the item dry.  As it dries it will crackle up beautifully. I also like that using this method makes little to no flaking. I love the look of crackled paint , but not the chips of flaked off paint.
                                            This is the banner piece completely dry.
 Here is my experimental page. From top to bottom: Paper, then glue then Folk Art Extreme Glitter acrylic paint, Next division Paper painted black, the glue applied  then white paint, Next is Stain with a sliver of no treatment at all, then glue then paint.  Now about 1/2  way down  I put the metallic paint  down below that I put the glitter paint then I put the glue on and I heat dried it. Not very good results.  On a side note here I don't think that the glitter paint and metallic paint work with this method because they stay wet so long that the glue and the paint mixes and prevents the crackling from happening.
                                                         Here is the bottom of the "foot" Wow, does she need some lotion. ;)
While I did not have good results of the heat application one paper I used both methods on the stone "foot" here can you tell which part is which?? Neither can I.  It seems to me that the paper and chip board really like the dry between applications method and other objects it does not matter.

                                  This is the effect it has on wood. I did not paint the wood I stained it with the antiquing medium. 

I hope this was easy to understand. Please feel free to ask any questions about any area that I made as clear as mud. ;)  I hope to see projects where you have used this method. If you do this method come back and leave a comment with a link to your blog post.

Have a scraptastic day everyone!! Happy crafting till next time. - Haley

Monday, February 27, 2012

A closer look at the ABC primer mini album

As promised her is a closer look at the album. I decided to make a paper bag mini for two reasons. 1. I am almost out of the chipboard my sweet friend gave me and 2. they are super fun to make.
I really wanted to show every single page on the design team call, but I had to really choose the pictures that I wanted them to judge. Now that we have time let's look a bit closer. ;)
 I wanted to make this cover in a non girly way. Esp since I have a son and two daughter and my hubby wants me to include pics of us when we went to school. ;) I put pop dots under to ABC primer cut out so that the wrinkled and distressed look could really pop out.
I love that the ribbon has numbers on it. and the letter stamps are right next to it. It made me think abc's and 123's. Oh great now I have that song stuck in my head.

 I love these canvas CTMH stickers. I just knew that they would make this mini rock.


 These two flaps fold down so that you can put pics on the back also.  It also leaves a large 4x6 area behind them for a photo.
 This flap lifts up and there is a photo mat slid into the side of it. I love the old looking ruler. I love these neat little touches that G45 papers add to the paper packs.
 What school looking mini album would be complete with out some old looking notebook paper?? This one is shaped like a file folder and is my photo mat.
 When I saw the little girl jump roping I knew I had to use it. As you can see the photo mat sits in the side. On a side note my circle punch was one of the best things I have bought.
Again a nice big photo mat.

I used the daylights out of these little flash cards. They are sooooooooooooo cute. The ribbons sticking out are alternating abc's and numbers. The other end pulls are twine, I really like a nice thick twine. This flap has a pocket on each side for photo mats.

 Here you can see the two tags.
 Note book looking paper made from index cards and cut to look like a file folder.
 A second set of the folding  tag holders.
 This is showing the other side. They also operate independent of each other.
 I still love these little flash cards.
 The little library card is so cute.


 The notebook looking paper that says journal is a canvas sticker.
I burned the edges of this. I just really like the pattern it made.

 I really like the mini book covers shown on this page of paper. I had the 8x8 paper pack I think I would really like to get the 12x12 paper pack too. You can see a sneak peek at my paper airplane.
 I just had to make a flight path for my paper air plane. I think this is one of the coolest stickers I have ever received. I think canvas stickers are the bomb.
 I took the pictures outside in my front yard so you can see the shadow that the camera strap left in this picture.
 This book title was SO cute I just had to cut it out and use it. I distressed the edges with my scissors to be honest with you. I usually use my TH distress tool, but after making 8 projects in a week and a half I was having trouble fining ANYthing in my craft area. I am happy to report that the craft room was given some much needed TLC today.
nice vertical pocket with a file folder looking photo mat.

 This is the inside of the back cover.
 This is the spine of the my mini. I really like the way it came out.
Not sure what made me take a pic of the mini from this angle, but I really like seeing the ribbons and twine from the tags. I know maybe I was showing that it all fit neatly inside the covers. ;)

This mini was pretty different for me in the fact that I did not ink anywhere near as much as I usually do. I did ink I just used a very light color and I only inked where I wanted dramatic emphasis.

The paper used was ABC  primer (Graphic 45) 8x8 pack, cotton twine, Abc ribbon and numbers ribbon (from Maya road) , cardstock (paperstudio brand), light weight packaging a friend gets for me, vintage photo ink, CTMH black ink, CTMH canvas stickers.  I used  Following the paper trial with Laura's stack the deck binding. I also used many, many different techniques I have learned from all the amazing youtube videos I have seen over the past few months.
I hope you all enjoyed this closer look. ;)
Please take a minute or two to leave a comment on my audition post if you can.
Have a scraptastic day!!

Sunday, February 26, 2012

Graphic 45 Design Team 2012 Auditon

Hello  to my scrapptastic friends !! I have missed you all the past week or two. I have been busy, busy, busy. Not the "oh my goodness I need a break" kind of busy, but the keep out of trouble good kind of busy. ;) Those of you who know me know that is a good thing. LOL
I have a confession to make to those of you who don't know it yet.... I LOVE GRAPHIC 45 papers!! I know, I know most of you already know this, but there are always new comers and I need to tell them. ;)
As you saw from the blog title today I am pulling up my big girl panties and be a big brave dog!! I am auditioning for the G45 design team. Wait, what's that in the back?? A small faint voice that says you are not familiar with Graphic 45. Please click on THIS. I know it will take a while to come back , but please try to remember to come back and finish looking at my pics.
   The design team call was to make a minimum of 6 projects. I got so caught up that I ended up with 8 projects. I made two mini books, two altered projects, two 12 X 12 layouts, one tag, and one card.  I used mostly G45 papers. I used the Communique 12x12 paper pad and the 12x12  Play Times Past paper pad. I used an 8x8 paper pad - ABC Primer. I used some washi paper I got many years ago while we lived in Japan. I also used two pages from  the Le Fluer paper pad by Paper studio.
All of the projects in this post are brand new. Since there are a lot of pictures and techniques that I used to make these projects I will make a series of more in depth tutorials, supply lists and explanations of the projects over the week. For now sit back and enjoy the photo's and a brief explanation of each photo.
Drum roll please.........

Let's start with the 12x12 Layouts:

 This layout of my husband's grandfather just had to me paired with the Lady of Liberty from the Communique papers.
The chocolate brown Heart is from my Maya Road warehouse sale box this past fall.
  I used  CTMH hinges. They are so cute and they work as you can see.
I used a CTMH stamp set to make the post mark and cancellation marks under the black penny stamps there is also an air mail stamp.
 I just can't help but think of all the letters my husband sent me when he was deployed. I just had to use this post card with the military picture.

Next layout is my husband's grand parents. A relative found some pictures in need of preservation and had them digitally remastered, so while the quality of the photo may not be the best  you sure can feel the wonderful happiness from this photo.
 I made the paper and lace flowers on this page.
 The ribbon folding just popped into my head and I really like the way it came out.
A friend of mine gave me some peacock feathers from some local peacocks.

I have two altered objects:
The clock that I altered has a small, but cute story. While in college a friend of mine felt that our sparsely decorated to small for our family city dwelling needed some styling up, so he bought me a clock. Now I adore my sweet friend, but over the years as my own style developed the clock just did not fit in. I hope he really likes what I did with it. I have pics of it once it had had a few coats of white, but not of the clock the way it was in it's original glory. I was just way to kind to subject you all to that you may thank me later.  :)


 I made the lace, ribbon, and yo-yo flowers on here. Isn't the little old fashioned doll so cute.  I also love the teddy bear with the blocks.
 The buttons on the lace flower to the right are old typwritter keys and they are the letters ABC.
 I love the the little advertizements.

 How cute is this little boy on this stick horse??
 I love my little faire girl giving a gift.
The clock houses a Play Times Past mini album. I love the play on words. ;) The chipboard album was in a Maya Road warehouse box. To cute to resist.

Next altered project was gifted to me by a friend who said that she had held on to it for years and never had a vision for it. She challenged me to do something with it. Now, she wants it back. :) Love it.


I sneaked a black penny stamp from the G 45 papers. The pansies are real dried  pansies that I bought about 12 years ago.

 I used Elmer's gel glue to make this crackle effect. I do not use any heat. I will be making a youtube video of the technique later on this week.
 I recently got some ephemera from K & Co. It looks so good on here.


I wanted ya'll to be able to see that this is a mirror. Look at that gorgeous Texas sky!!  I made the paper flowers, the yo- yo flowers, and the yellow ribbon rose. I love the green felt ribbon at the bottom center. I don't normally do much with birds or nests, but this project just called out for it.
Hang in there with me everyone we are nearing the home stretch. I hope you are enjoying the pictures and descriptions.

Now I have a card and a tag:

 This was my first time using Ranger Alcohol inks.  The postage stamp looking awesomeness is some washi tape my friend Julie got me when she went to the washi  factory store in Japan.
 I masked this using an awesome image from my Cricut.

 stickles, pastel chalks, lace, ink, paper and what do you get?? An awesome card.

Woohooo!! To you for sticking with me. Two more to go. These are the two mini albums I am submitting.
I used the Playtimes Past and the ABC Primer for them.


This photo begins the ABC Primer.


Thank you all so much for taking the time to look at my pictures. I hope you will come back again and again. I will be posting more in depth looks at the projects thru out the week. Be looking for more tutorials and my very first youtube video will so be here for you all to enjoy.
Have a scraptastic day everyone!!