Showing posts with label Wild orchid crafts. Show all posts

Friday, May 22, 2015

Another project using the left over paintbrushes


Hello Everyone!!

Here are a few more projects where I used the paintbrushes from the palette kit.

 This one was very simple, but I really like it.


Here is the other project using the pallet and brushes:

My local Joannes store was having an incredible sale on EVERYTHING Tim Holtz., so I thought I would get the vintage pictures and I must say that I really like them.  The metal pieces are from Flying Unicorn. The frame was a plain wooden one.

Here is a closer picture. I used texture paste, paint, inka gold.  I will admit that I am not happy with the pink as it sits right now.  I love the Maya road wooden bingo piece piece peaking out from the bottom. The doily is a piece left over from several projects I have made with it.


I love yard sale jewelry.

I just love flowers. Where do you find the best flowers on the internet?


 I hope you like these two projects. I am think since I have another pallet I may make another one. Maybe steam punk or more in the style of Finabair.


Friday, April 17, 2015

Mixed media fun

Hi Everyone!!

Here is another mixed media project. I tried to take pictures while I was working on it. I hope you try this project or one similar.

Here is the project when it was finished. The words in the center say " see the beauty in every day things

I used a 8x10 canvas. I actually recycled one that I had glued some music note paper to.  It was rather hideous and I was so happy when inspiration hit.  I honestly hated the original piece so much I did not take a pic of it. :)
I then painted a layer of crackle medium onto the canvas. You can use Elmers clear/gel glue if you do not have crackle medium. there is even a tutorial HERE if you would like to know how.
I then painted the canvas with Apple barrel brand paint in the color Cloudless. I added black India Ink splatters. I let it all dry while I dipped the paint brush tips into paint and set them aside to dry. I also gathered materials from all my stash piles. Metal pieces, scraps of crochet doilies, chipboard pieces, and Flowers. The words are from past Maya Road ware house boxes!!


I got some artist pallets for another project and they came with a full set of (ehhh) paint brushes. Not wanting to throw them away I decided to recycle them and use them on this project.


Before I added gesso. I hate wasting anything so, I used the bottoms of the paint brushes that I cut to fit in the bottom corner.

Still needs to be lighter

Needs a bit more gesso


hmmm, now it seems to fade into the back round too much.


I recently got some 13 arts glass beads, I totally love them. I use them every chance I get.

I love the way the piece of doily peeks out from beneath the chipboard daydream word. If you look really closely you can see the mess that hides underneath.


Here is another close up of the grouping of items covered in gesso and sprayed with white sprays. I thought about going all out and using all my Lindy's and Prima sprays, but I really liked the simplicity of this piece. In the final piece way back up there at the top of the post, I solved the problem of the  groupings fading into the backround by adding a "Halo" or "brightning" effect with some white gesso.
I really hope you enjoyed this piece . Let me know what you think or if you would like to see a more detailed tutorial or even a video.
Have a wonderfully crafty day!!
Haley

Thursday, March 12, 2015

Altered paint brush

Hi Everyone!!

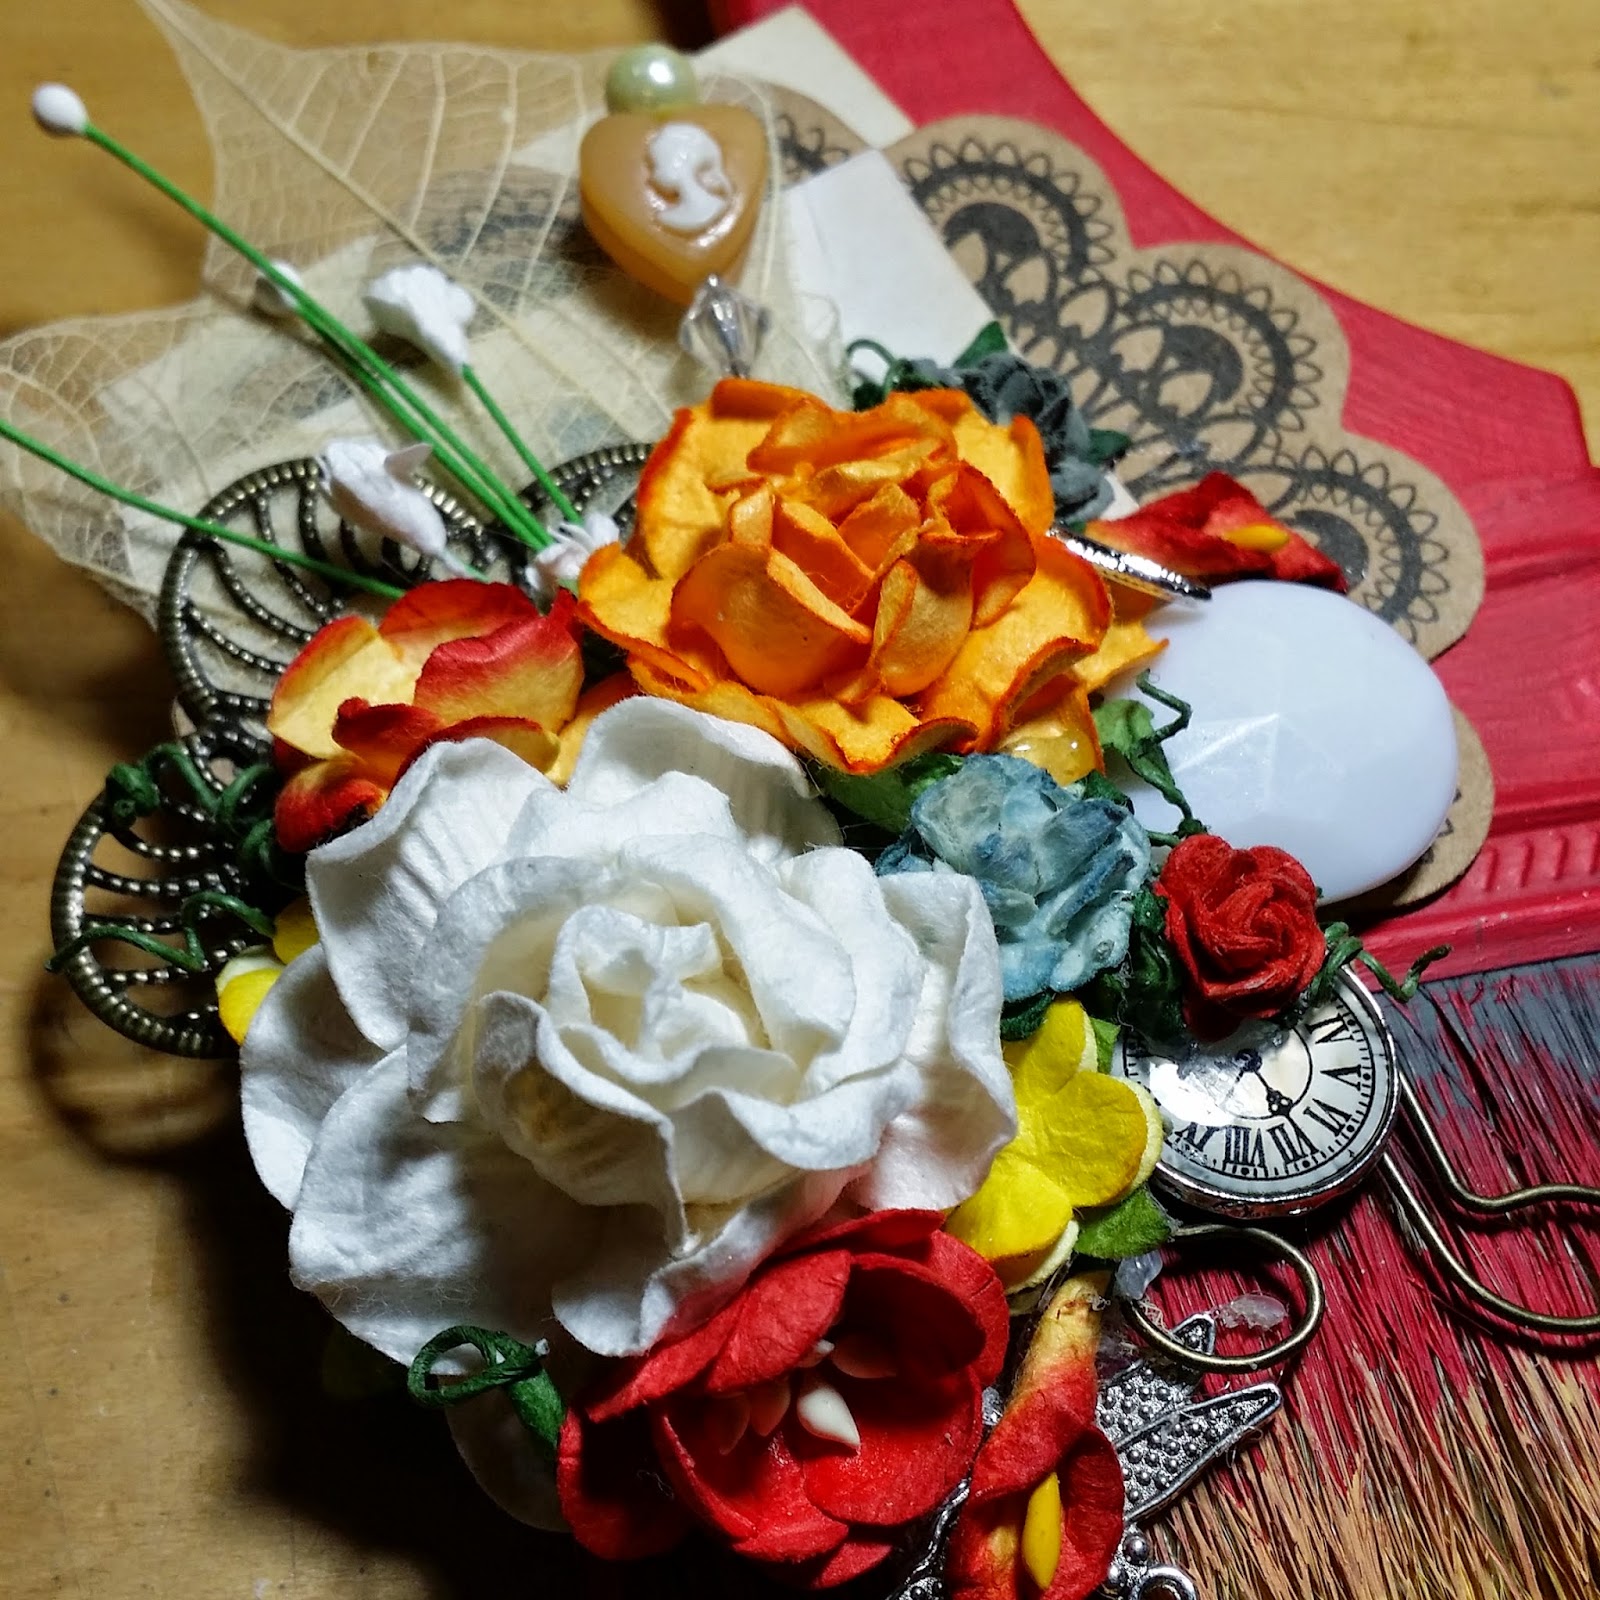
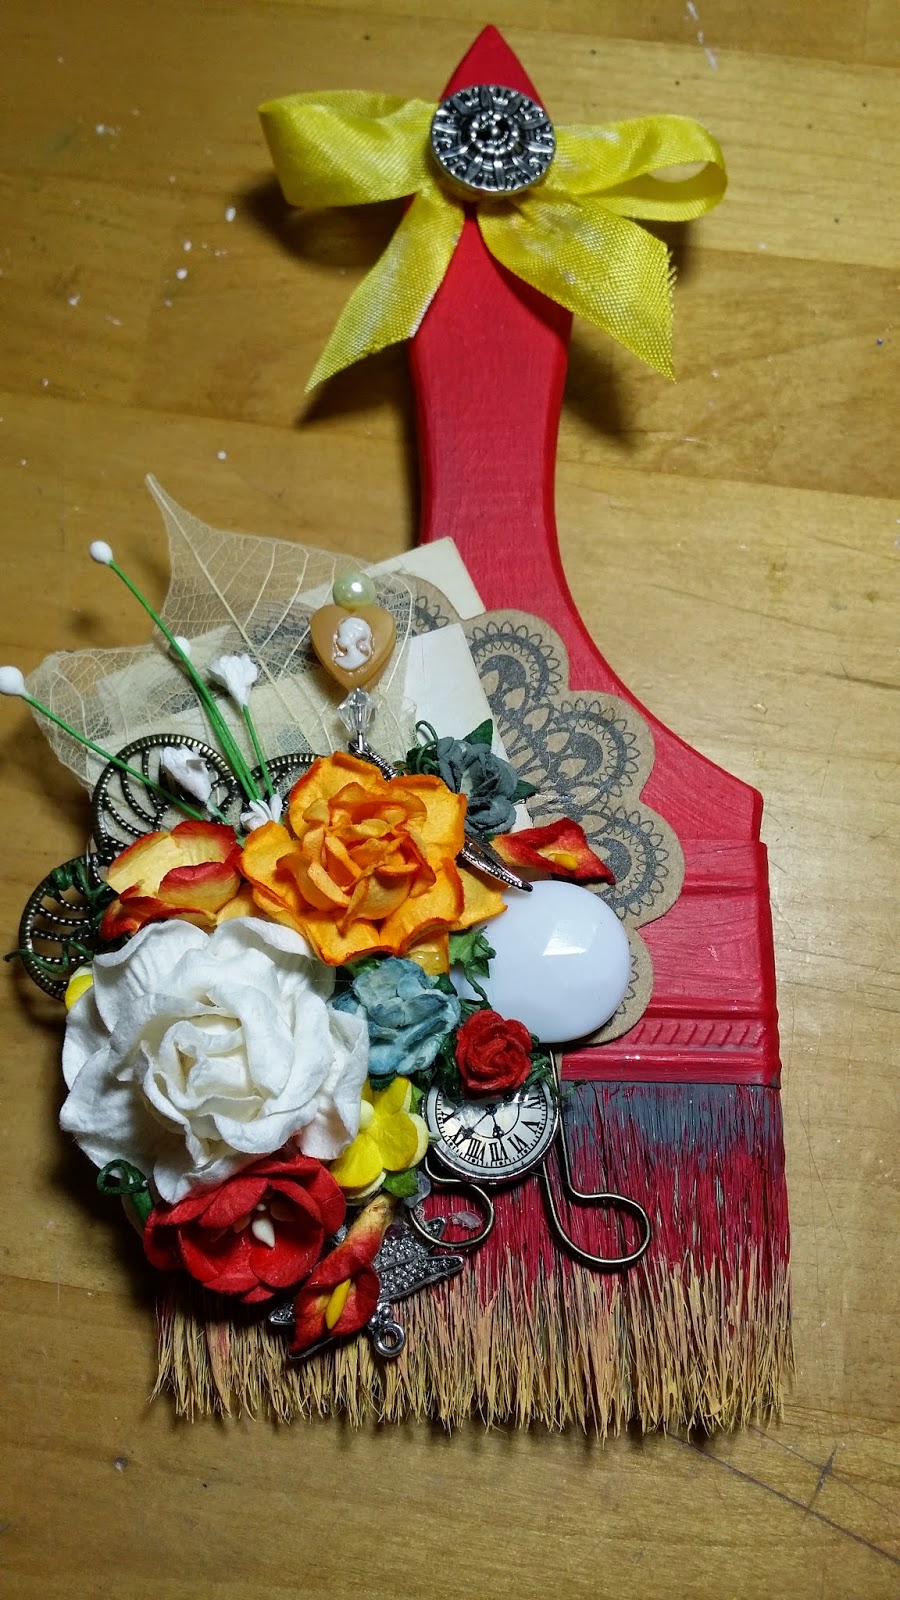
Today I wanted to share with you an altered paint brush. I was at my local mega store and I was looking for some spackle to use in my mixed media projects. Please don't get me wrong, I love modeling/texture/embossing paste as much as the next crafter, but I don't always need it to be archival safe. Any way, as I was walking down the aisle I saw these paint brushes for 81 cents each. I knew one would work for a substitute for a Hake' brush for my daughter. The other I bought for me to try to do something with.  Here is what I came up with. I want to do a series with seasonal colors and ephemera.


All these amazing flowers and metal pieces make me so happy.

Here is a full frontal view of the paint brush.

I used the button on the back to hold the ribbon in place and to provide a place to hang it on the wall.
I hope you will try one of these super simple, but beautiful altered paintbrushes for yourself.
Have a great day!!
Haley

Thursday, February 12, 2015

Challenge


Hi everyone!!

This Tuesday I was given a canvas that was going to be thrown away. The canvas had been used to tryout some melted crayon art work. I must say I very much regret not taking a before picture. I was given the canvas to upcycle. :) Below are some pics of the finished product and proof that Tim Holtz tissue wrap can be glued down with melted wax. It was really fun to play with a medium I don't normally use.

       The handle across the top is a purse handle a sweet friend of mine gave to me to use.


   Recollections micro beads that have been in my stash  for easily 5 years. Check out that super cool giant glass stone wrapped in copper foil (or something similar). It is super cool.

Have fun and give upcycling a try.
Haley


Tuesday, February 10, 2015

New project


Hi Everyone!!

Holy moley it has been so VERY long since I posted to my blog. We have moved roughly 1200 miles from where we were in Texas to Wyoming. It is truly lovely here. I am exstatic to tell you that we had a WHITE CHRISTMAS!! It was amazing. Enough about me, how have ya'll been?? I hope each and everyone of you are in good health, peaceful spirits AND filled with love.  I wanted to post some new projects I have been working on. Today's project is one that I will be hosting a class on at the end of February here locally :)  I am SO excited. Gonna be singing that one all day. Bellow are some pictures for you.

                                            I have had this owl for SEVERAL years. This year
                                          one of my goals is to stop hoarding supplies and use
                                          them and enjoy.

I recently started a monthly kit subscription to Flying Unicorn kits. I cannot tell you how awesome the kits are. They have 4 yes, thats right you read that correctly 4 different kinds of kits to choose from. How cool is that?? :)  I used the stencil we got in our kit this month on here. I also used the Shimmerez sprays and paint that came in my kit. A few of the flowers and metal embellishments were also from there. Most of the flowers and supplies came from my stash. I have decided that if want new and exciting ideas and objects to work with then I have to clear out the creative clutter that is already here.  I am so happy that I finally stopped waiting for something "worthy" of my hoarded supplies . I feel so free.
Have many more projects to post of the next few days to play catch-up.
Have an amazing day,
Haley

Thursday, June 27, 2013

Faux spool

I have wanted to decorate a spool for quite some time now, so I was looking around the internet and I saw a bunch of great pics to inspire me. Here is what I came up with.


This is made from a toilet paper tube and craft cardstock. :) I love the way it came out.
Happy crafting.
Haley


Wednesday, June 19, 2013

Up, Up and away.

I totally love Hot air balloons right now. I looked up some projects about hot air balloons and found THIS   Super cool right??  Then I saw THIS  I really liked the idea of hot air balloon being on the chipboard. My husband is really tall and our ceilings are, well, not. SO hanging anything from the ceiling is a no go.

Here is my completed project, Tutorial to follow.

I recently got some awesome October Afternoon
paper. When I saw this cloud paper I thought I
would never find a use for it. I think it works perfectly with the hot air balloon.


Here is a picture of the template my hubby made me on the computer, printed on a 8 1/2 x 11 sheet of paper.

the "bulb" is 10 inches. The length is 8 inches.


I traced this pattern onto all of my patterned paper. I made a chipboard template. Now I will have one for a long time.

I traced and cut 8 of them.

Next, I folded them in 1/2 length wise. I then glued them back to folded back.

Here are several photo's of them after they have been glued waiting to dry.


 Here I used my crop a dile to add a small hole for threading seambinding.


Here are all the sections glued together.

Now I took a 12x12 sheet of chipboard and paint it or cover it with paper. I chose to cover it with black cardstock.
 next I covered it with this October Afternoon sky paper.
 
 Next, I glued the spine to the paper. If you don't glue the spine down it will flop around.
 Here it is after I glued it down. I also glued the two most end pieces to the back-round.
 Proud of my stitching on this.
 Here it is with me attempting to get tall enough to stand over it and take pics.
I placed a strip of pearls for the body of the butterfly. I had never sewn thru chipboard before. My VERY elderly sewing machine required some assistance, but I really like the way it turned out.
 Here is a close up of the distressing. I punched out a cloud and tucked it in. I really went to town on the edges.
 I love this seam binding. I get it from Cheep trims. It come in 100 yard spools for about 10 bucks. I have white and black. I dye the white one all the time.
A few years ago I was given these "learn Chinese cards" and I have been slowly using them in my projects. I just love them. The bling in the bottom corner came from ETSY. 
 Here are some flowers from my stash pile.

Here is a close up of the trim I used and the lace.
I really hope you enjoyed this and make one for yourself. If you do leave a link down below in the comments.
Happy crafting!!
Haley