Showing posts with label altering. Show all posts

Tuesday, May 5, 2015

Inspiration


Hello Everyone!!
I have to tell you a secrete... Lean in close, I am totally addicted to Pinterest. :) Do you harbor the same addiction? I love going onto Pinterest for a while and looking around and letting ideas or quotes  fill me with inspiration. Today I love the project I made. 
The pin led me to a 13@rts page HERE.  I started out my Pinterest search  that day with the determination to use some paintbrushes I had received in a "Palette Kit". I used the painters palette in several other projects, but was left with several not fabulous quality brushes. I have several projects I have done with the leftover brushes. I hope you like them.

Here is the project in its entirety. The letters say "create more art".

Here is a close up of the brushes, I dipped them in modeling paste by Shimmerez called Dazzlers. The color is creamcicle. I  also got a close up of the texture I created by letting the gesso I painted on the canvas bubble slightly.
I got this amazing flower in an embellishment swap about a year ago. The hearts are from a Maya Road warehouse box. I recently found this glass filler product on the Flying Unicorn website. LOVE, love, love.

More of the dazzler texture paste.

I got this bird from Flying Unicorn in their metal finding section. I love it so much.


I hope you liked my variation of the project.  I would like to know where/how do you get inspiration.
Have a great day!!

Tuesday, March 31, 2015

Paris in the spring

Feeling a little crafty this week and here are the results. :)

This was the off the page object from the March Flying Unicorn kit.

I have never worked with just a limited color pallet. I really wanted to challenge myself.

Here it is in the daylight.

I recently got some Lindy's stamp gang embossing powers AND well, I just could not resist using them here.


Have a wonderful day!!

Thursday, March 12, 2015

Altered paint brush

Hi Everyone!!

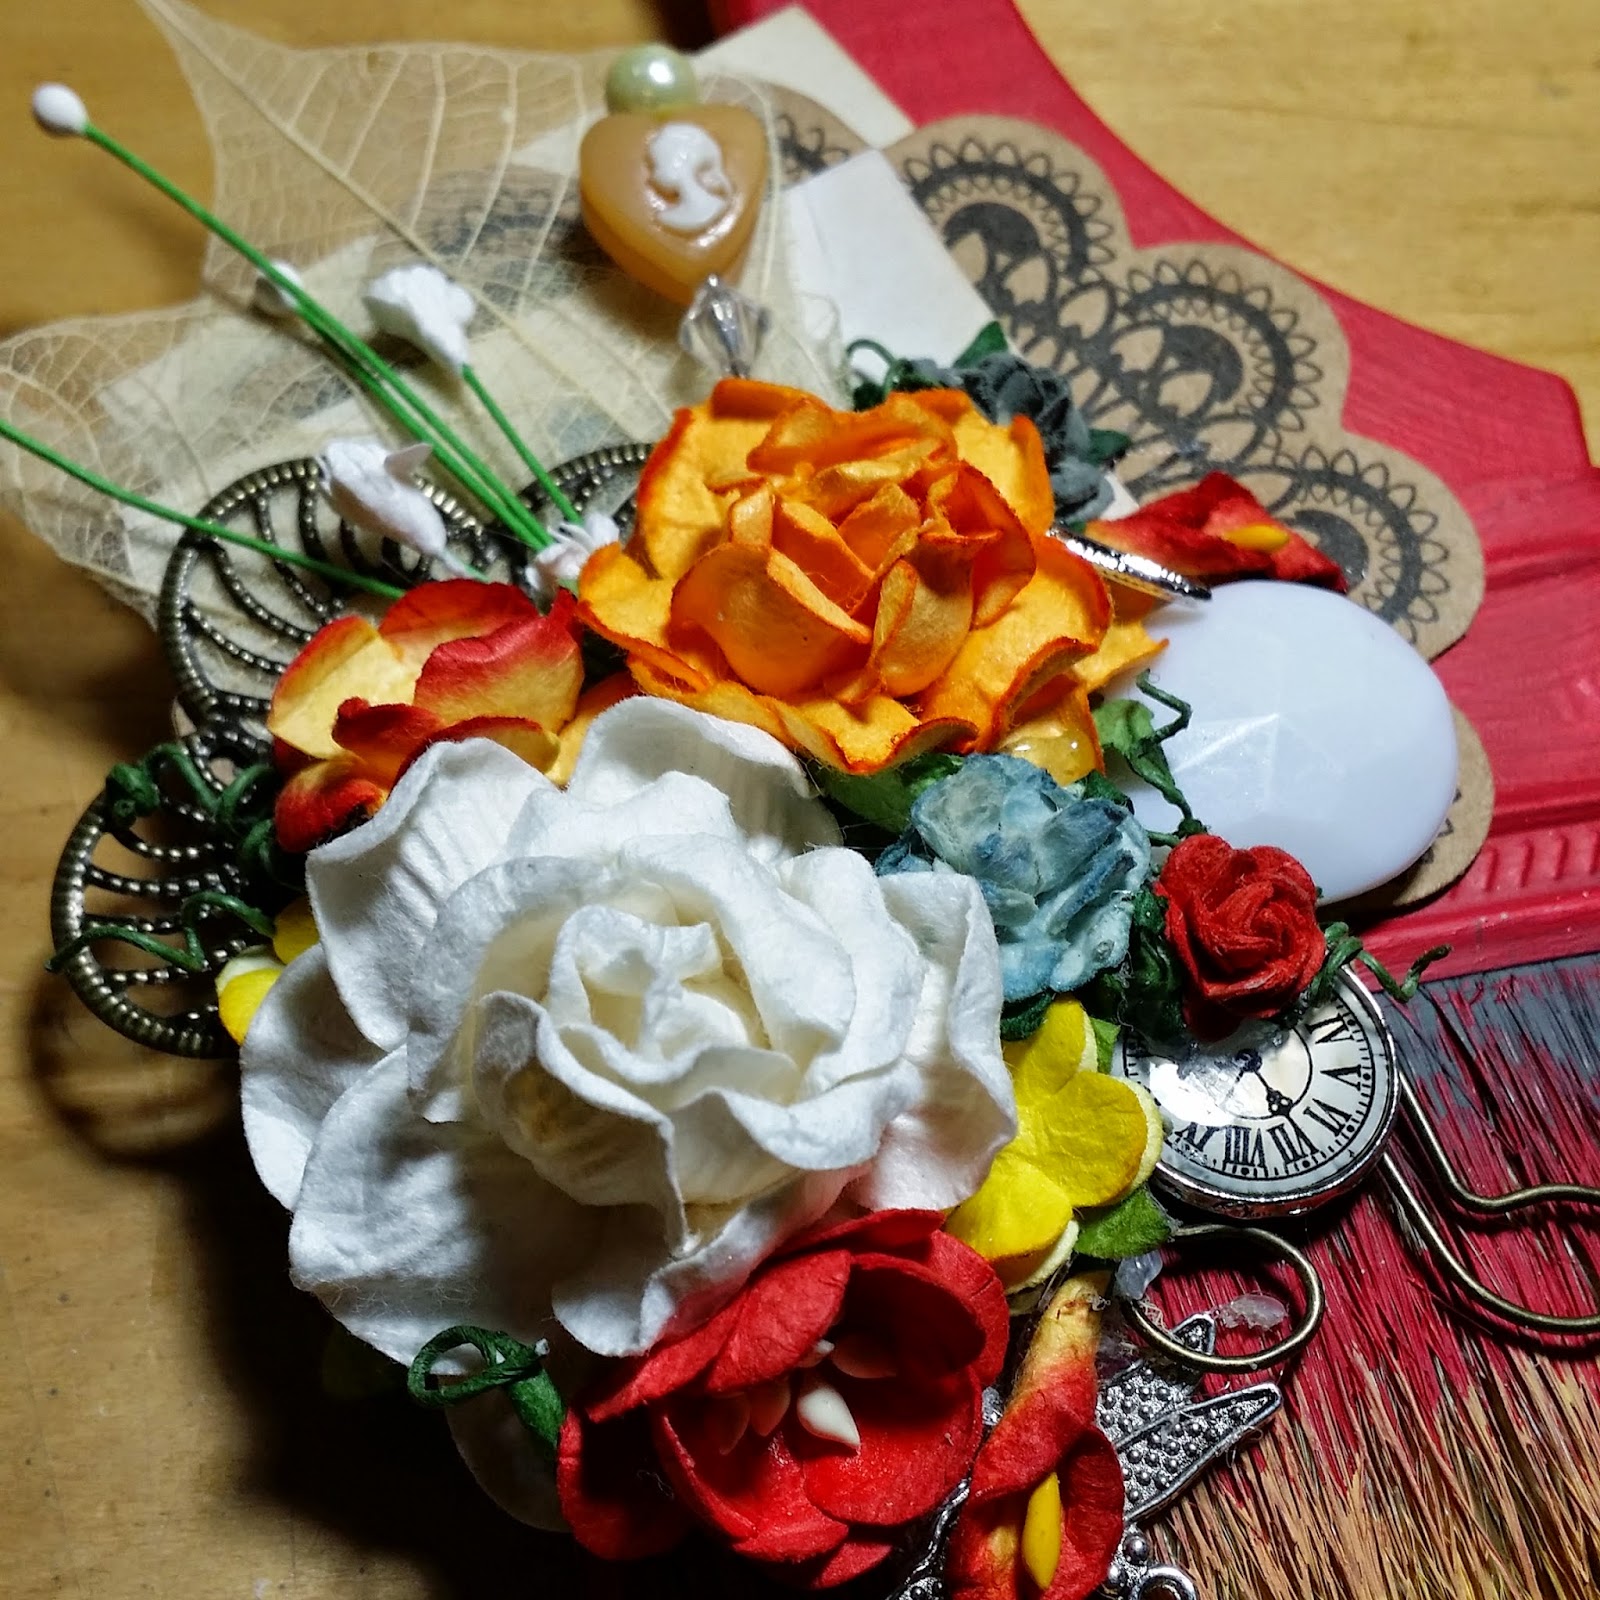
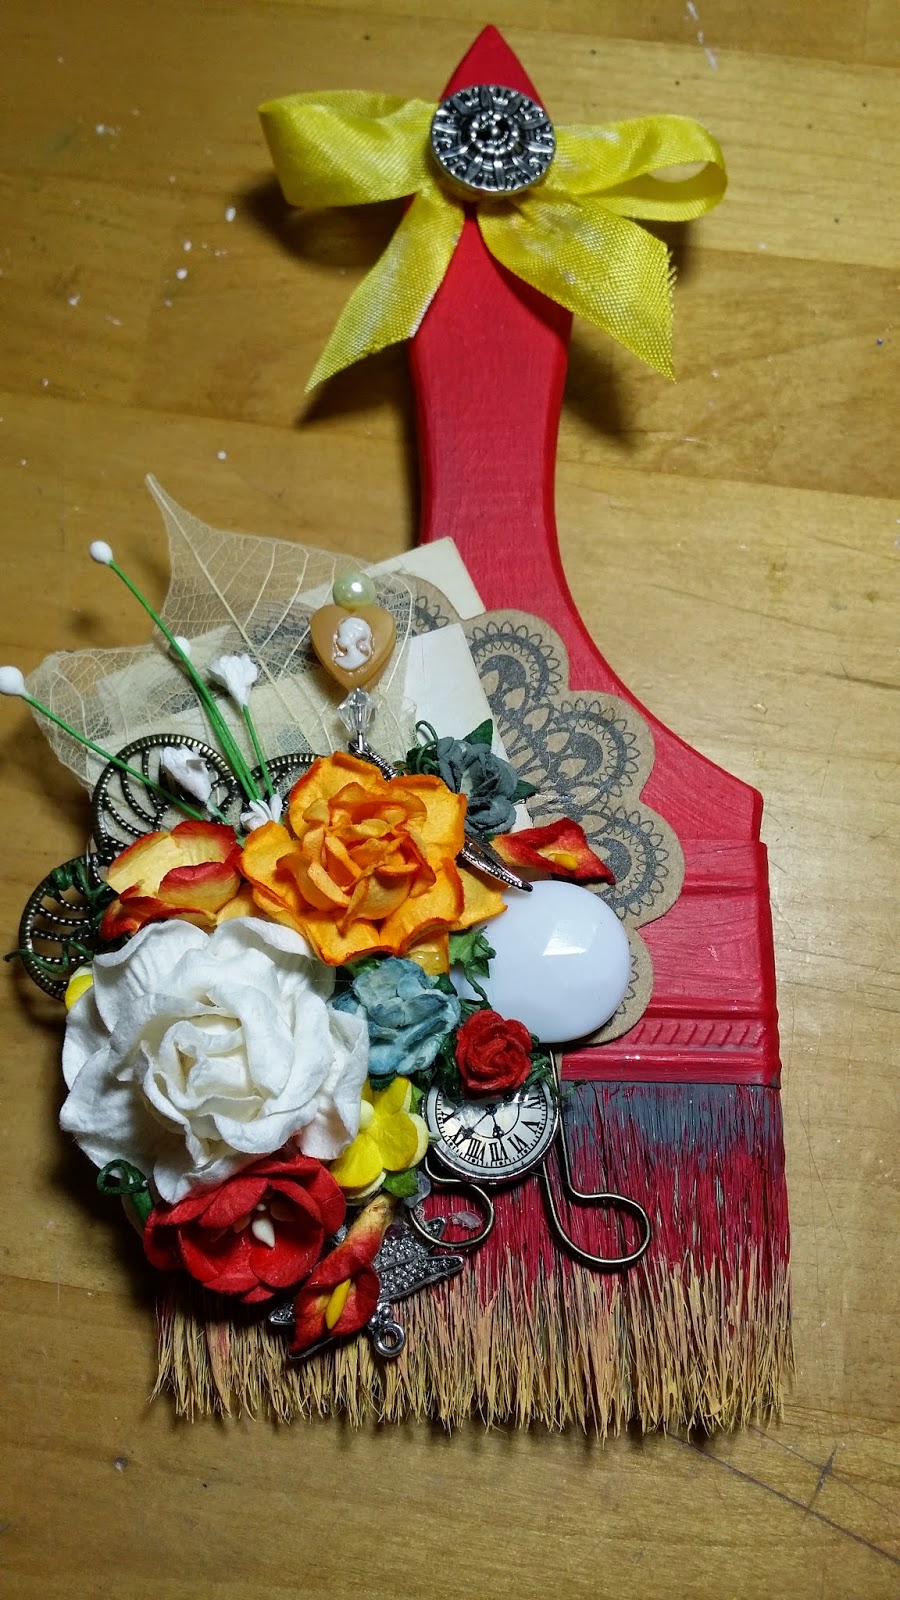
Today I wanted to share with you an altered paint brush. I was at my local mega store and I was looking for some spackle to use in my mixed media projects. Please don't get me wrong, I love modeling/texture/embossing paste as much as the next crafter, but I don't always need it to be archival safe. Any way, as I was walking down the aisle I saw these paint brushes for 81 cents each. I knew one would work for a substitute for a Hake' brush for my daughter. The other I bought for me to try to do something with.  Here is what I came up with. I want to do a series with seasonal colors and ephemera.


All these amazing flowers and metal pieces make me so happy.

Here is a full frontal view of the paint brush.

I used the button on the back to hold the ribbon in place and to provide a place to hang it on the wall.
I hope you will try one of these super simple, but beautiful altered paintbrushes for yourself.
Have a great day!!
Haley

Monday, February 16, 2015

More fun "Catching" up.


For Christmas this year I got several stencils. I must say that I am really loving playing with them.  I has seen video after video where fellow artists were creating the most wonderful master pieces by incorporating them into the pieces. Itchy to give it a try myself. I came up with this:
                                                       
Here is the final project.


 I wanted to make an underwater scene, nice and inky and wavy.  I started by thinking about how in heck I was gonna find and print off the Koi fish that would be just perfect. I went to google images, then headed over to youtube. I watched and looked about a bazillion (4 to be exact, but bazillion is fun to type) videos. I finally came across one that gave me a basic sketch and encouraged me to personalize it from the basic sketch. I am really proud of my drawn Koi fish. I really wanted it to be much more fluid than the one showed in the video. I wanted it to look like the fins were moving with the flow of the water. Once I had the fish drawn I totally freaked out about adding color to it. So, I set it to the side and began working on my backround.
I used  some music paper from an old music book someone gave us ages ago. I gessoed the paper so, that it would be able to take all the product I planned on using. Now that the Gesso was dry I sprayed Lindy's Stamp gang flat fabio sprays in the colors Ocean breeze blue and Caribbean blue with just a few splatters here and there of Tim Holtz distress stains Broken China. This step is where I went just crazy and buck wild (well, for me anyway). I dropped Black India ink unto the paper in large globs and using a straw I blew the ink around. I am really am happy with the way it came out.  Next, I took one of my Crafter's Workshop stencils (Art is) and used some Gloss medium thru the stencil just like you would modeling paste, paint or ink. I really love that it smudged the words just enough for them to not be completely legible. Once that dried I used my Crafter's workshop stencil that has cup rings and spatters to add some modeling paste and back India ink.
Gulp, it was back to the best picture I had drawn from scratch in ages. Well, I pulled up my big girl panties and broke out the water colors and just started moving them around on the image as I held my breath and hoped beyond hope that I would like it in the end. :)  I walked away for night. The next morning I broke out my markers and began outlining and adding in small details like the spots on the fish and his mustache. I cut the image out from the paper that I drew it on, leaving just a small border. I was so happy with it. I used gel medium to decoupage it to my background.  When I added it to my art journal I decided to add a black border. I am glad I did it really makes it pop for me. The last step was to add the "bubbles" and go around them with black ink to help them stand out more.

I hope you enjoyed looking at and reading about the process.
Have a great day,
Haley


Thursday, February 12, 2015

Challenge


Hi everyone!!

This Tuesday I was given a canvas that was going to be thrown away. The canvas had been used to tryout some melted crayon art work. I must say I very much regret not taking a before picture. I was given the canvas to upcycle. :) Below are some pics of the finished product and proof that Tim Holtz tissue wrap can be glued down with melted wax. It was really fun to play with a medium I don't normally use.

       The handle across the top is a purse handle a sweet friend of mine gave to me to use.


   Recollections micro beads that have been in my stash  for easily 5 years. Check out that super cool giant glass stone wrapped in copper foil (or something similar). It is super cool.

Have fun and give upcycling a try.
Haley


Wednesday, June 19, 2013

Up, Up and away.

I totally love Hot air balloons right now. I looked up some projects about hot air balloons and found THIS   Super cool right??  Then I saw THIS  I really liked the idea of hot air balloon being on the chipboard. My husband is really tall and our ceilings are, well, not. SO hanging anything from the ceiling is a no go.

Here is my completed project, Tutorial to follow.

I recently got some awesome October Afternoon
paper. When I saw this cloud paper I thought I
would never find a use for it. I think it works perfectly with the hot air balloon.


Here is a picture of the template my hubby made me on the computer, printed on a 8 1/2 x 11 sheet of paper.

the "bulb" is 10 inches. The length is 8 inches.


I traced this pattern onto all of my patterned paper. I made a chipboard template. Now I will have one for a long time.

I traced and cut 8 of them.

Next, I folded them in 1/2 length wise. I then glued them back to folded back.

Here are several photo's of them after they have been glued waiting to dry.


 Here I used my crop a dile to add a small hole for threading seambinding.


Here are all the sections glued together.

Now I took a 12x12 sheet of chipboard and paint it or cover it with paper. I chose to cover it with black cardstock.
 next I covered it with this October Afternoon sky paper.
 
 Next, I glued the spine to the paper. If you don't glue the spine down it will flop around.
 Here it is after I glued it down. I also glued the two most end pieces to the back-round.
 Proud of my stitching on this.
 Here it is with me attempting to get tall enough to stand over it and take pics.
I placed a strip of pearls for the body of the butterfly. I had never sewn thru chipboard before. My VERY elderly sewing machine required some assistance, but I really like the way it turned out.
 Here is a close up of the distressing. I punched out a cloud and tucked it in. I really went to town on the edges.
 I love this seam binding. I get it from Cheep trims. It come in 100 yard spools for about 10 bucks. I have white and black. I dye the white one all the time.
A few years ago I was given these "learn Chinese cards" and I have been slowly using them in my projects. I just love them. The bling in the bottom corner came from ETSY. 
 Here are some flowers from my stash pile.

Here is a close up of the trim I used and the lace.
I really hope you enjoyed this and make one for yourself. If you do leave a link down below in the comments.
Happy crafting!!
Haley