Showing posts with label stamping. Show all posts

Thursday, January 7, 2016

#PASC116 Art Journaling ... a challenge... I am there!!

I am totally loving working in my art journal. Are you an art journaler?? It is so popular right now. There have been people who have art journaled before it was even called that. They are wonderful inspirations and examples to us all.
What I personally LOVE about art journaling is that I am not afraid to make mistakes and take chances. If I mess it up no problem. It is only a piece of paper in a book, right??  I definatly try and attempt new techniques and crazy ideas in mine. Some of them do not work out so well, others however find their way into my go to technique mental tool box. :)
I usually art journal just what ever pops into my crazy brain box. Some times I roam the lonely internet looking for an art journal idea fix. :) There are tons of amazing prompts out there. In fact, there are entire pinterest  boards devoted to them. One such prompt group that I recently joined on Face book is called The Pic a Stick Challenge group HERE .  This month's prompts were:
  • Create a title in YOUR OWN font
  • use gears
  • add a verse from a song
  • build texture with a palette knife using any medium you choose
  • create boarders/elements with scrapbook paper
  • use sparkles
  • add paint with a palette knife or card
  • journal so that no-one can read it
  • add a picture
  • write on masking tape in a pen or pencil and add it to the page
Use the hashtag : #PASC116  if you make an art journal page or project using the prompts.
I actually made two projects using the prompts.  The first project, I will honest, I really am not sure how I feel about it. I like parts of it and other parts I really dislike.  The second project I used the same prompts, but I used them slightly out of order.

Project one:

Here is the complete two page spread. I am pretty pleased with the iceberg, but the other side, blech.

Here is a close up of the iceberg. I used the prompt about adding texture with a palette knife.


not really happy with this .

Here is the wet crackle paste. I just had such a hard time trying to incorporate scrapbook paper into my journal.


I was so much happier with the iceberg one it dried.


Now for project 2:  I unashamedly totally like this one better. It is so much more me.

I am so much happier. I even used a black backround!! Pretty new for me.
started out with a gesso(ed) page.

Guess who got the set of Dylusions paints for Christmas??

Sorry about the glare. That there is a seriously black page. GULP, I have never worked on such a dark background.

Yuppers, those are in fact the lyrics to There's a light at the Frankenstein place.

Drawing my focal image on scrapbook paper. I had thought about painting over the paper, but it just seemed to take on a life of its own.


Here is where I used the card to apply paint. I love the way the drag made the light glow.


I used the MT tape, my bestie got me when she was living in Japan. I wanted to blend it into the page.

I love these paints. Here up close the base of the lightbulb really looks copper or metallic.
Luminarte Silks Acrylic Glaze  in chestnut brown.

Prima color blooms  Empress gold. Oh yeah look at the sparkle.

Sparkle you say, here lets add more.

Adding the dreaded picture. HMMMM how can I hide this??

tada!! Hidden.
I added a little doodling at this point AAAAAAANNNNNDDDDD done. :)  I am happy that I did the challenge, I really am. I think this will work best for me to follow the integrity of the Challenge each month on one page and then do a second page  right next to it in my own order. Then write about what the challenge made me find out about my self and my creativity.

Tuesday, March 31, 2015

Paris in the spring

Feeling a little crafty this week and here are the results. :)

This was the off the page object from the March Flying Unicorn kit.

I have never worked with just a limited color pallet. I really wanted to challenge myself.

Here it is in the daylight.

I recently got some Lindy's stamp gang embossing powers AND well, I just could not resist using them here.


Have a wonderful day!!

Tuesday, February 10, 2015

New project


Hi Everyone!!

Holy moley it has been so VERY long since I posted to my blog. We have moved roughly 1200 miles from where we were in Texas to Wyoming. It is truly lovely here. I am exstatic to tell you that we had a WHITE CHRISTMAS!! It was amazing. Enough about me, how have ya'll been?? I hope each and everyone of you are in good health, peaceful spirits AND filled with love.  I wanted to post some new projects I have been working on. Today's project is one that I will be hosting a class on at the end of February here locally :)  I am SO excited. Gonna be singing that one all day. Bellow are some pictures for you.

                                            I have had this owl for SEVERAL years. This year
                                          one of my goals is to stop hoarding supplies and use
                                          them and enjoy.

I recently started a monthly kit subscription to Flying Unicorn kits. I cannot tell you how awesome the kits are. They have 4 yes, thats right you read that correctly 4 different kinds of kits to choose from. How cool is that?? :)  I used the stencil we got in our kit this month on here. I also used the Shimmerez sprays and paint that came in my kit. A few of the flowers and metal embellishments were also from there. Most of the flowers and supplies came from my stash. I have decided that if want new and exciting ideas and objects to work with then I have to clear out the creative clutter that is already here.  I am so happy that I finally stopped waiting for something "worthy" of my hoarded supplies . I feel so free.
Have many more projects to post of the next few days to play catch-up.
Have an amazing day,
Haley

Wednesday, June 19, 2013

Up, Up and away.

I totally love Hot air balloons right now. I looked up some projects about hot air balloons and found THIS   Super cool right??  Then I saw THIS  I really liked the idea of hot air balloon being on the chipboard. My husband is really tall and our ceilings are, well, not. SO hanging anything from the ceiling is a no go.

Here is my completed project, Tutorial to follow.

I recently got some awesome October Afternoon
paper. When I saw this cloud paper I thought I
would never find a use for it. I think it works perfectly with the hot air balloon.


Here is a picture of the template my hubby made me on the computer, printed on a 8 1/2 x 11 sheet of paper.

the "bulb" is 10 inches. The length is 8 inches.


I traced this pattern onto all of my patterned paper. I made a chipboard template. Now I will have one for a long time.

I traced and cut 8 of them.

Next, I folded them in 1/2 length wise. I then glued them back to folded back.

Here are several photo's of them after they have been glued waiting to dry.


 Here I used my crop a dile to add a small hole for threading seambinding.


Here are all the sections glued together.

Now I took a 12x12 sheet of chipboard and paint it or cover it with paper. I chose to cover it with black cardstock.
 next I covered it with this October Afternoon sky paper.
 
 Next, I glued the spine to the paper. If you don't glue the spine down it will flop around.
 Here it is after I glued it down. I also glued the two most end pieces to the back-round.
 Proud of my stitching on this.
 Here it is with me attempting to get tall enough to stand over it and take pics.
I placed a strip of pearls for the body of the butterfly. I had never sewn thru chipboard before. My VERY elderly sewing machine required some assistance, but I really like the way it turned out.
 Here is a close up of the distressing. I punched out a cloud and tucked it in. I really went to town on the edges.
 I love this seam binding. I get it from Cheep trims. It come in 100 yard spools for about 10 bucks. I have white and black. I dye the white one all the time.
A few years ago I was given these "learn Chinese cards" and I have been slowly using them in my projects. I just love them. The bling in the bottom corner came from ETSY. 
 Here are some flowers from my stash pile.

Here is a close up of the trim I used and the lace.
I really hope you enjoyed this and make one for yourself. If you do leave a link down below in the comments.
Happy crafting!!
Haley

Wednesday, February 29, 2012

Elmer's glue as a crackle medium.

Hello everyone.  I promised that I would post more in depth pictures and tutorials this week, so here is a tutorial on how to use Elmer's gel school glue as a crackle medium.
 I know that a lot of you have seen the official Elmer's glue tutorial where the demonstrator  paints a wooden, plastic, or ceramic item with paint. Then puts on a thick coat of the regular white glue in a small spot (to prevent drying) with her finger, then paints it quickly with a thin coat of paint and uses a blow dryer or heat tool to dry the item and viola you have a wonderful crackle finished item. If you haven't you can click HERE.

  Simple, easy and not to complicated right??  Then why you might wonder am I doing  a tutorial. I mean I already told you how, right?? Well, like I said that is the official instructions from Elmer's Glue.

 I do it a little different. I know it is hard to believe, but my way is even simpler. It does take a bit more time I will admit. It does not however need** a heat source and it can be used a paper and many other surfaces.  Sounds great right?? It is, it really is.

How to get that crackle look with Elmer's gel glue.
 Materials you will need are:
Elmer's gel glue
 2 Acrylic paints of contrasting colors
paint brush or two
water
towel and the item/s that you wish to crackle

1. pick the object you wish to crackle. I will show you three finished pictures at the end of this post of how the crackle looks on wood, chipboard, and on paper. I also have a sheet of paper that I experimented on with some other paints and I used the the wet glue with a heat source and my preferred  method.
                                                        This is a chipboard banner.
                                                       Piece of kraft card stock
                                                   A rock I found on the beach a few years ago. It totally reminded me a foot, so I painted a flip flop top and toe nails on it.  I am not going to paint over the top I am going to paint the other side. This side is way cuter though.

2. paint or stain a contrasting color to the paint you wish to show case. Example if you want the object to be white you want a dark color as the base coat or stain and the opposite if the object will be a dark color.
Use acrylic paints for this. I have used a product called antiquing medium as the base coat/color.
  The chipboard banner piece was painted to the black color you see above. The back of the stone was simply painted black.  This piece of paper was painted black on one side and stained on the other. Next, I painted Extreme glitter acrylic folk art paint on the stain side and folk art metallic acrylic paint in the color  emerald .

3. Once your paint,stain, or antiquing medium has dried, use a paint brush to  paint the Elmer's gel glue on top of the dry base coat. You want this glue to be about a medium thickness. Try to spread evenly. Now, let it dry completely. Drying time will depend on how heavy handed you were with the glue, your weather, and size of the object. I personally like to do this type of work in the evening or before bed then  put it up on my drying rack and have wonderful crafty dreams. (LOL)

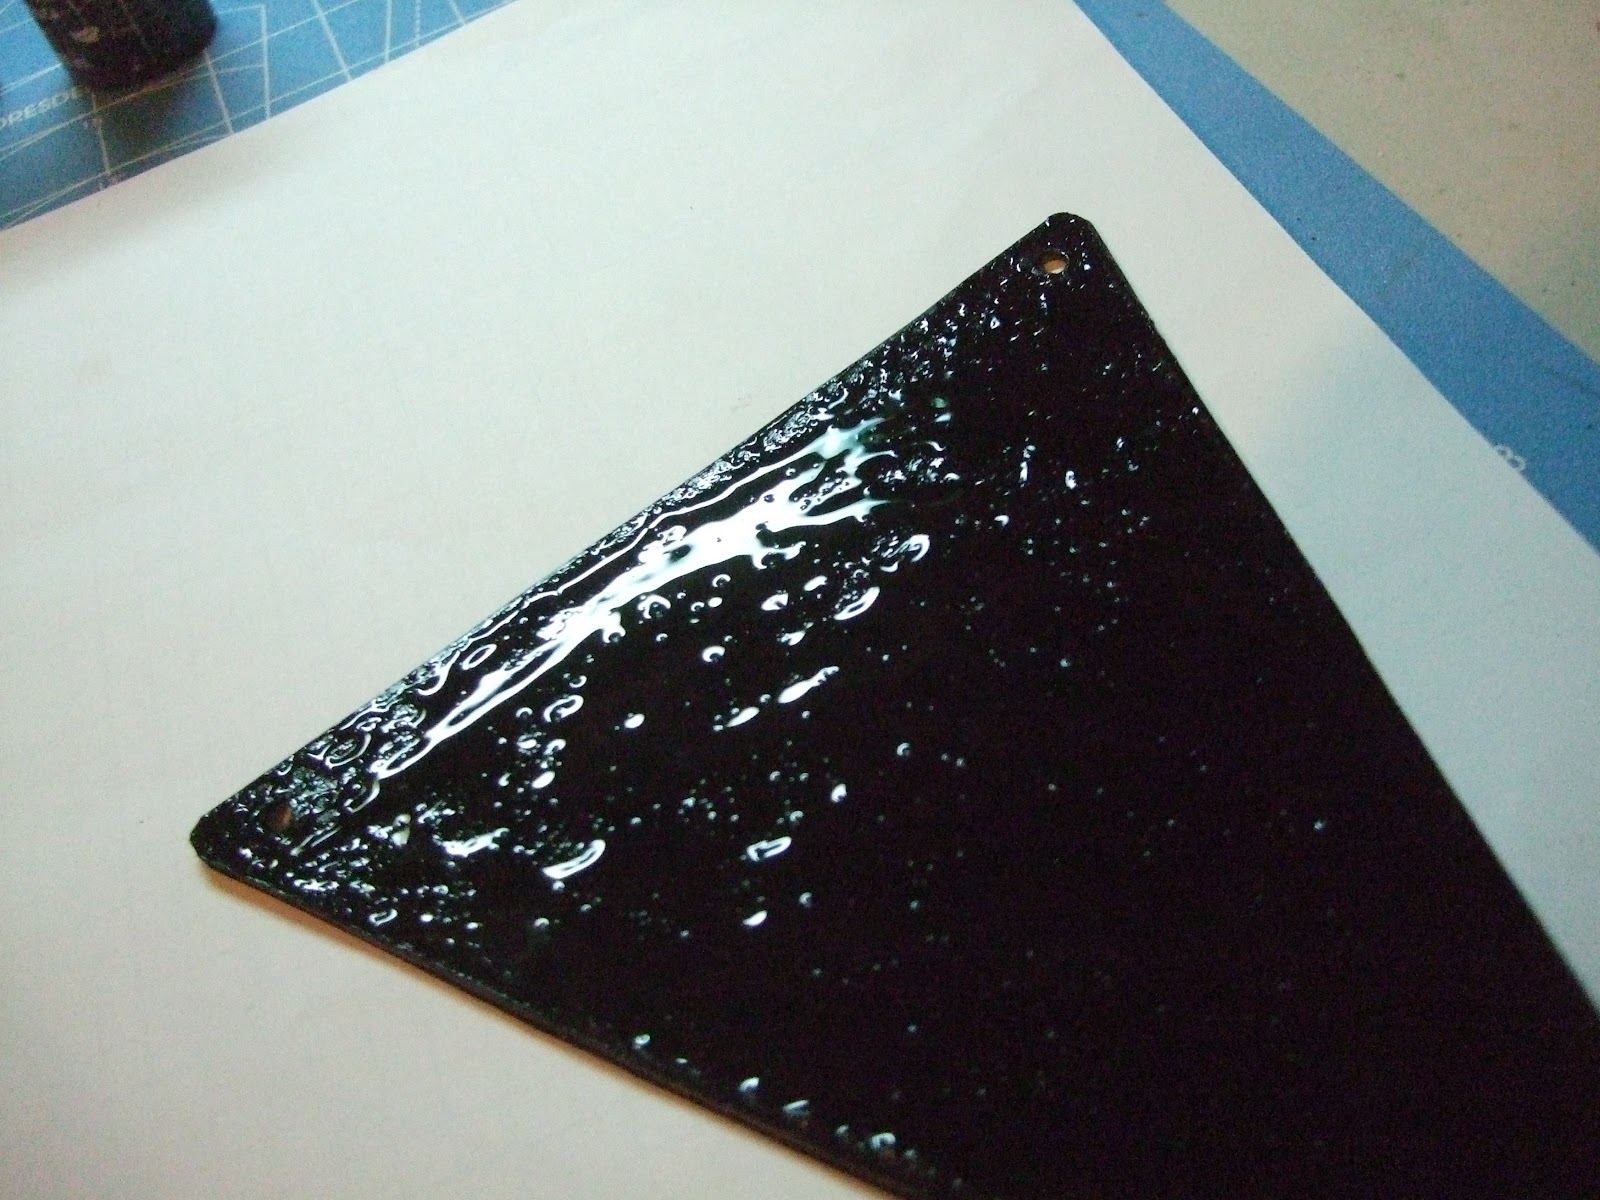
                                               Nice fairly thick coat of gel glue.  Now, I have to tuck it away or tomorrow I will find it somewhere in the house with cat fur all over it or more likely a cat walking around with it stuck to them. LOL
 Here is our paper right after the glue has been applied.  ** If you are in a hurry you can dry the glue with a heat source. (shhhhhhh don't tell anyone you did) ;)

4. Once it is COMPLETELY dry you can paint over it with the paint you want to show on top. I have found that this happens quickly, so use a nice even quick stroke of medium thickness of paint. Do NOT go back over any of the painted area or you will cover up the crackle effect. I will also tell you that I find it best to stay in the same paint stroke direction.

                                                  Dry paper.
                                               The banner is dry. If you look at this pic and the finished picture you will that the bog spots are going to have less crackle(ing) to them, so if you don't like the pattern hit with a little more glue. You will find what works best for your projects.
                                                  I wanted to make sure I put in a picture of the paper with only one side glued, so that you could see the difference.
                                               Now, for the painting. I put a fair amount of paint on my brush.
                                         Here you can see that I am not even done and it is getting very crackled.

5. Let the item dry.  As it dries it will crackle up beautifully. I also like that using this method makes little to no flaking. I love the look of crackled paint , but not the chips of flaked off paint.
                                            This is the banner piece completely dry.
 Here is my experimental page. From top to bottom: Paper, then glue then Folk Art Extreme Glitter acrylic paint, Next division Paper painted black, the glue applied  then white paint, Next is Stain with a sliver of no treatment at all, then glue then paint.  Now about 1/2  way down  I put the metallic paint  down below that I put the glitter paint then I put the glue on and I heat dried it. Not very good results.  On a side note here I don't think that the glitter paint and metallic paint work with this method because they stay wet so long that the glue and the paint mixes and prevents the crackling from happening.
                                                         Here is the bottom of the "foot" Wow, does she need some lotion. ;)
While I did not have good results of the heat application one paper I used both methods on the stone "foot" here can you tell which part is which?? Neither can I.  It seems to me that the paper and chip board really like the dry between applications method and other objects it does not matter.

                                  This is the effect it has on wood. I did not paint the wood I stained it with the antiquing medium. 

I hope this was easy to understand. Please feel free to ask any questions about any area that I made as clear as mud. ;)  I hope to see projects where you have used this method. If you do this method come back and leave a comment with a link to your blog post.

Have a scraptastic day everyone!! Happy crafting till next time. - Haley