Showing posts with label crafting. papercrafting. Show all posts

Tuesday, May 5, 2015

Inspiration


Hello Everyone!!
I have to tell you a secrete... Lean in close, I am totally addicted to Pinterest. :) Do you harbor the same addiction? I love going onto Pinterest for a while and looking around and letting ideas or quotes  fill me with inspiration. Today I love the project I made. 
The pin led me to a 13@rts page HERE.  I started out my Pinterest search  that day with the determination to use some paintbrushes I had received in a "Palette Kit". I used the painters palette in several other projects, but was left with several not fabulous quality brushes. I have several projects I have done with the leftover brushes. I hope you like them.

Here is the project in its entirety. The letters say "create more art".

Here is a close up of the brushes, I dipped them in modeling paste by Shimmerez called Dazzlers. The color is creamcicle. I  also got a close up of the texture I created by letting the gesso I painted on the canvas bubble slightly.
I got this amazing flower in an embellishment swap about a year ago. The hearts are from a Maya Road warehouse box. I recently found this glass filler product on the Flying Unicorn website. LOVE, love, love.

More of the dazzler texture paste.

I got this bird from Flying Unicorn in their metal finding section. I love it so much.


I hope you liked my variation of the project.  I would like to know where/how do you get inspiration.
Have a great day!!

Wednesday, April 22, 2015

Art journaling


Hello my crafty friends!!
     Today I wanted to talk about art journaling. I found art journaling about 6-9 months ago, and guess what? I LOVE it.
     I have about 5 journals that I am currently working in.  Some days I work in only one. Other days I work in several. While one is drying I work in another.  I do have a few that are (loosely) for particular purposes. One such beauty is my "release and relax" journal. I use this journal to get what ever is bothering me out and onto to the paper. It allows me to say awful or wonderful things without anyone ever knowing or finding out.
      I have always kept a journal, well not an everyday journal more like a in spurts journal. I have always felt so much better when I am able to "say" those things you should never say out loud. 
     One day about 7 years ago now, my husbands sister passed away very unexpectedly. She was a journal keeper and everyone wanted to read them. They wanted to "hear" her sweet give you the shirt off her back gentle and loving spirit forever immortalized in words on paper. That is NOT what was found. All her journals were negativity journals. Friends, family, ect. were devastated and hurt.
     For the longest time I would not dare write in journal, what if they found some of the terrible things I written in order to get things out of my head and heart?  I could not keep away from the needed release of getting things off of my chest. I would write and then trow them away or burn them.
      Then one day I found art journaling. I knew exactly what to do with the journals that I had hidden deep in the closet. I could put gesso, tissue paper, paint, collage, and any other number of things. I could then make a wonderful piece of art for my loved one to see. Never knowing that underneath lay all the raw unfiltered feelings. What a relief. 
     Not all my journals have a purpose, some pages are just to play with a new product I get. One of the best things about art journaling is, if I hate the page in end I can choose to keep it and learn to embrace imperfection or I can gesso over it and have another go at it.

I got a few of the small 6 jar sets of  Luminier Silks paints for Christmas. I love them so much. I can not believe how much shimmer they have. They are very creamy and fun to work with. The butterflies are a Keiser Craft sticker set that I got in a Flying Unicorn kit.  The black circles were made with a cap from my allergy medicine. :)

Some times when my brain is chaotic being able to make order on the journal page makes me feel so much better.

Here is a page from my release and relax journal. Under neath the art on this page is a written journal page.  I plan on posting more journal pages in the future. I hope that you find a wonderfully freeing way to get your clutter out of your heart and head.  Have a wonderful day!!


Friday, April 17, 2015

Mixed media fun

Hi Everyone!!

Here is another mixed media project. I tried to take pictures while I was working on it. I hope you try this project or one similar.

Here is the project when it was finished. The words in the center say " see the beauty in every day things

I used a 8x10 canvas. I actually recycled one that I had glued some music note paper to.  It was rather hideous and I was so happy when inspiration hit.  I honestly hated the original piece so much I did not take a pic of it. :)
I then painted a layer of crackle medium onto the canvas. You can use Elmers clear/gel glue if you do not have crackle medium. there is even a tutorial HERE if you would like to know how.
I then painted the canvas with Apple barrel brand paint in the color Cloudless. I added black India Ink splatters. I let it all dry while I dipped the paint brush tips into paint and set them aside to dry. I also gathered materials from all my stash piles. Metal pieces, scraps of crochet doilies, chipboard pieces, and Flowers. The words are from past Maya Road ware house boxes!!


I got some artist pallets for another project and they came with a full set of (ehhh) paint brushes. Not wanting to throw them away I decided to recycle them and use them on this project.


Before I added gesso. I hate wasting anything so, I used the bottoms of the paint brushes that I cut to fit in the bottom corner.

Still needs to be lighter

Needs a bit more gesso


hmmm, now it seems to fade into the back round too much.


I recently got some 13 arts glass beads, I totally love them. I use them every chance I get.

I love the way the piece of doily peeks out from beneath the chipboard daydream word. If you look really closely you can see the mess that hides underneath.


Here is another close up of the grouping of items covered in gesso and sprayed with white sprays. I thought about going all out and using all my Lindy's and Prima sprays, but I really liked the simplicity of this piece. In the final piece way back up there at the top of the post, I solved the problem of the  groupings fading into the backround by adding a "Halo" or "brightning" effect with some white gesso.
I really hope you enjoyed this piece . Let me know what you think or if you would like to see a more detailed tutorial or even a video.
Have a wonderfully crafty day!!
Haley

Thursday, March 12, 2015

Altered paint brush

Hi Everyone!!

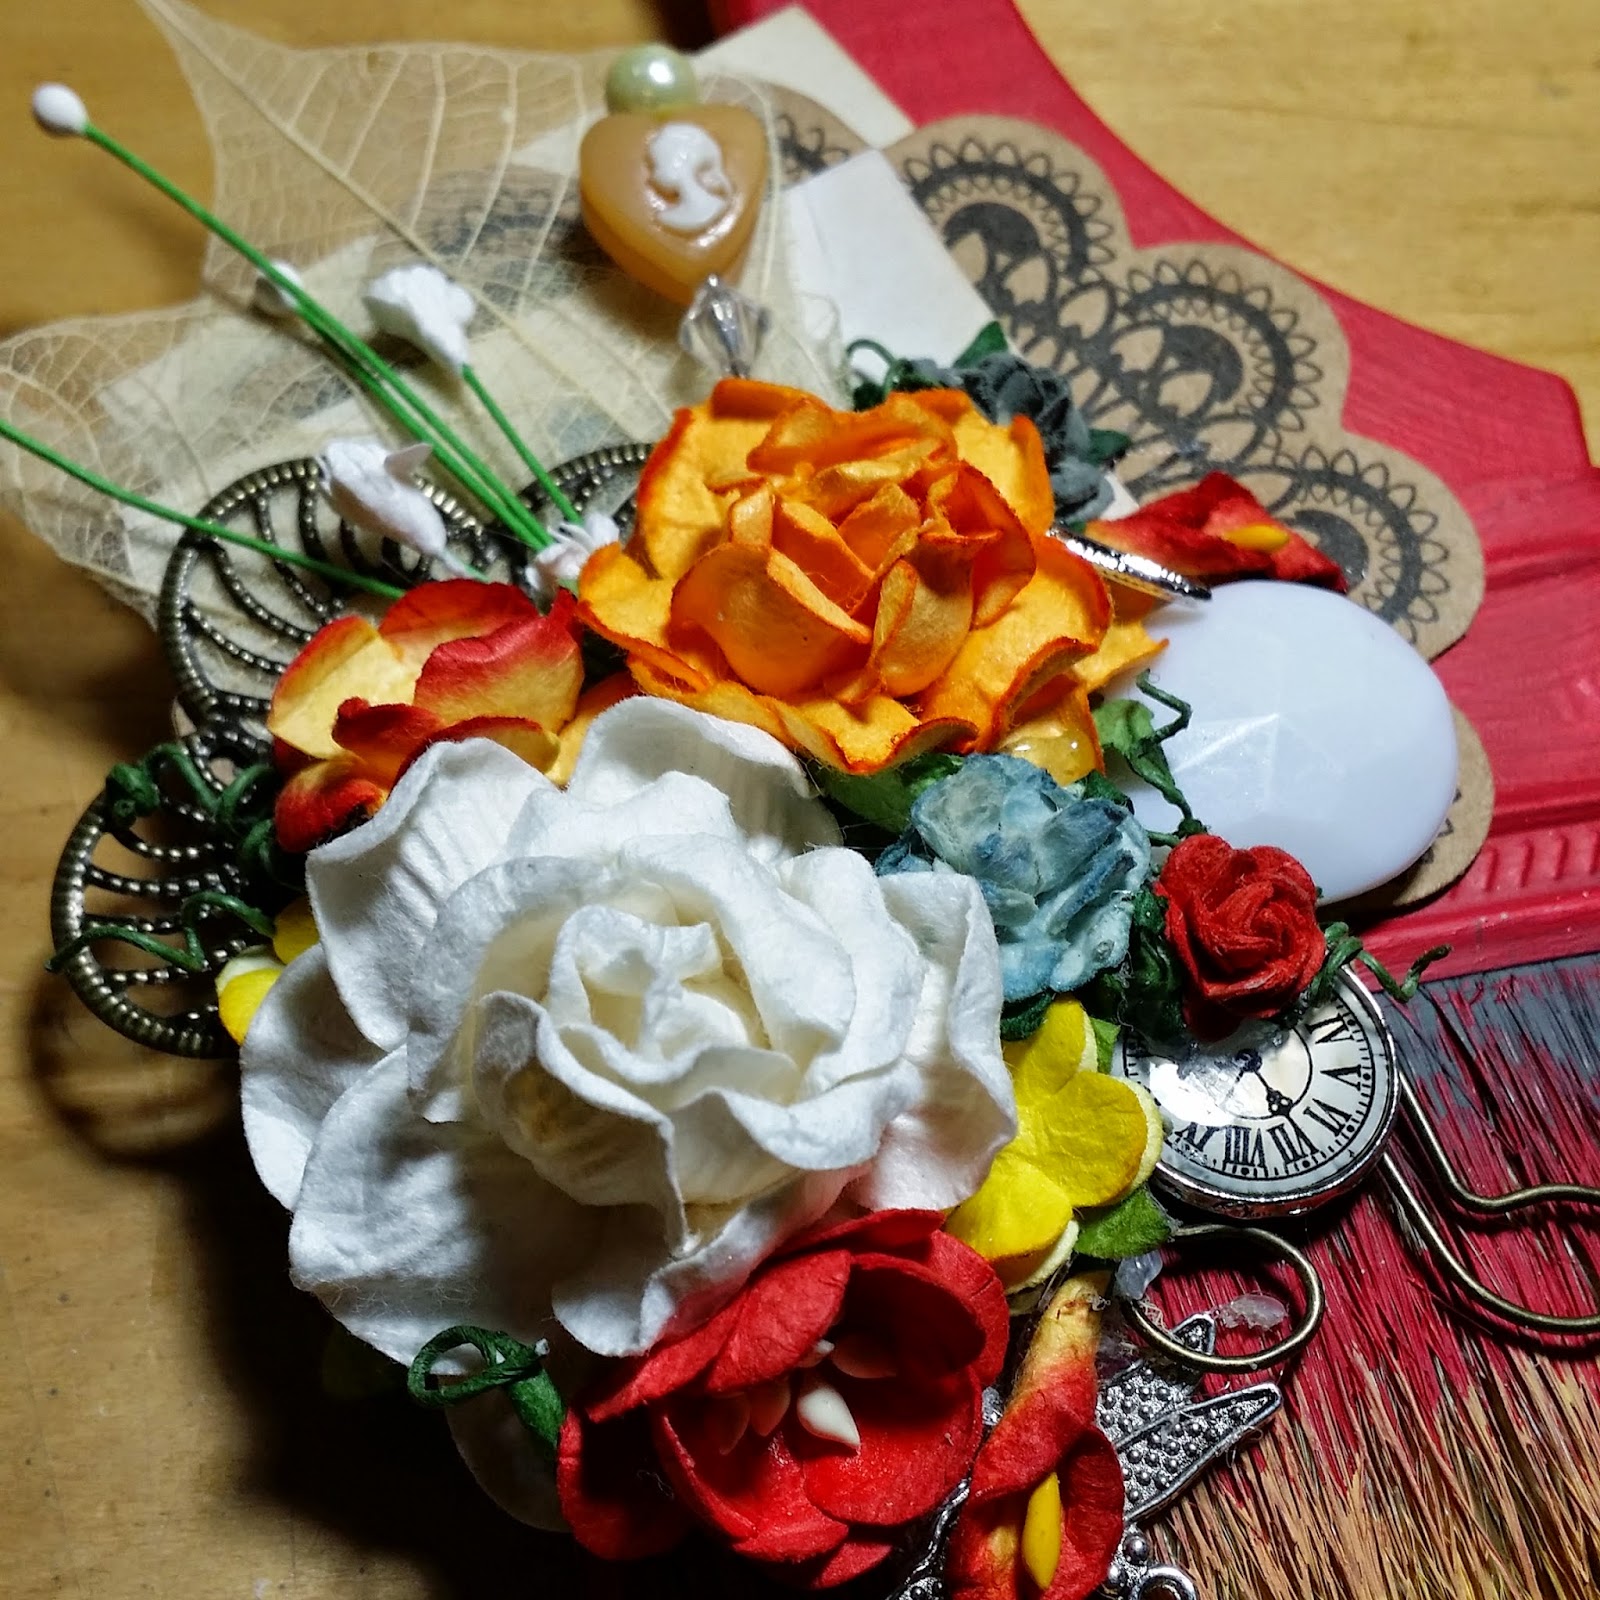
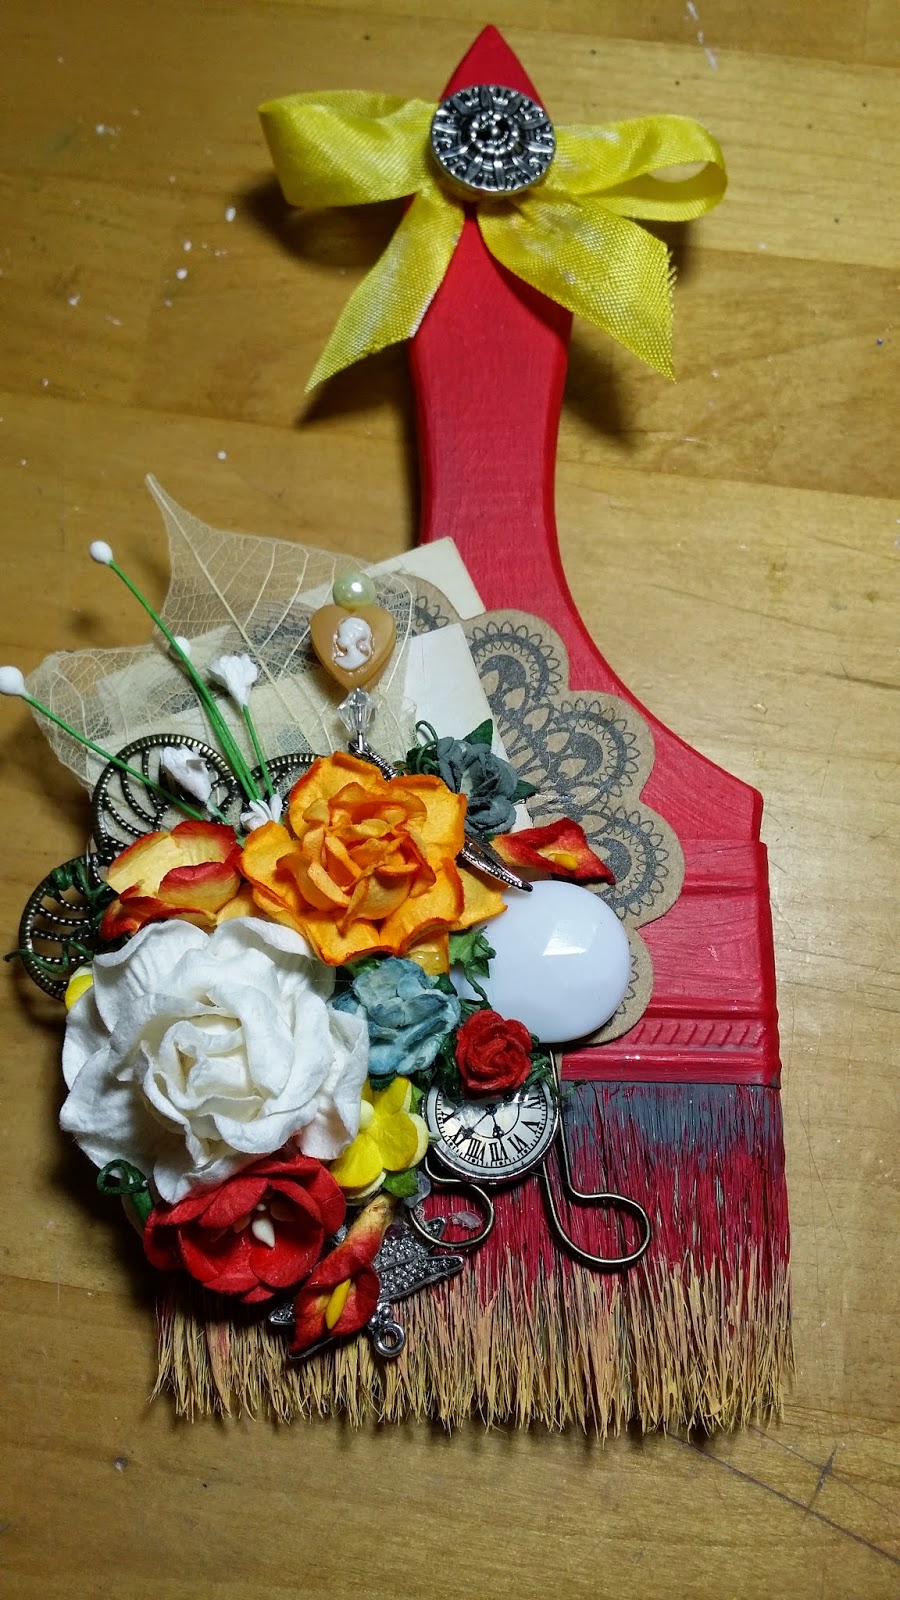
Today I wanted to share with you an altered paint brush. I was at my local mega store and I was looking for some spackle to use in my mixed media projects. Please don't get me wrong, I love modeling/texture/embossing paste as much as the next crafter, but I don't always need it to be archival safe. Any way, as I was walking down the aisle I saw these paint brushes for 81 cents each. I knew one would work for a substitute for a Hake' brush for my daughter. The other I bought for me to try to do something with.  Here is what I came up with. I want to do a series with seasonal colors and ephemera.


All these amazing flowers and metal pieces make me so happy.

Here is a full frontal view of the paint brush.

I used the button on the back to hold the ribbon in place and to provide a place to hang it on the wall.
I hope you will try one of these super simple, but beautiful altered paintbrushes for yourself.
Have a great day!!
Haley

Thursday, February 26, 2015

Expressions of the heart.


Happy Thursday Everyone!!  I am so happy that Friday is right around the corner. I love getting to spend time with my family on the weekends, but this weekend is when Flying Unicorn will be revealing this months kits. *SQUEEEEE*  I have already ordered mine during the sneak peak pre-orders and I am (very un-) patiently waiting for it to arrive in the mail. :)  In the mean time I have been on an art journaling kick lately. I wanted to share a page that I created recently. 
    I came across a quote by Georgia O'Keefe recently that has really spoken to my heart.  "I found I could say things with color and shapes that I couldn't say any other way".  Have you ever felt that way?

Challenging myself to use my sticker hoard, my gem hoard, my doily hoard, awesome paper clip hoard, and lace hoard. Oh my I am beginning to see a hoarding issue. LOL

Here is an over view of the entire page.  I am really loving this mica flakes that came in my February kit. I really love how soft and pretty my Lindy's sprays turned out. 


I really love the way this butterfly tucks so perfectly into the fold of the book pages. I am NOT good at rub ons. I love watching people use them on their projects. However, when I try oh my goodness you should see the fail. This time they came out amazing. Maybe I it was because I slowed down and took my time and really relaxed while making this page.

Here is a close up of the mica flakes, I love this heart vines lace, I found it at a local flea market here. How awesome do the Lindy's sprays look? I find that I am happier with the results of using them when I use a paint brush the move them around the page. I am really thinking this page may have been a page about craft supply hoarding. :)

I love this tulle flower that I received in a swap. 
I usually LOVE the stickers I buy when I am in the store buying them. I get them home and put them in their nice organized drawer and then, wham I never use them. Well, no more I say.  I have come the conclusion that if I don't use them I can buy more. 

This was the first time I have ever tried to stamp with liquid India ink. I think the harlequin stamp came out awesome. Esp for not using an ink pad. I am really loving using found objects such as caps.
I am so happy and grateful that I have begun expressing myself in my art journal. There really are things that are best not seen by others. This way I can get my feeling (good or bad) out and onto the paper. 
I hope you all have a wonderful day!!
Haley

Monday, February 16, 2015

More fun "Catching" up.


For Christmas this year I got several stencils. I must say that I am really loving playing with them.  I has seen video after video where fellow artists were creating the most wonderful master pieces by incorporating them into the pieces. Itchy to give it a try myself. I came up with this:
                                                       
Here is the final project.


 I wanted to make an underwater scene, nice and inky and wavy.  I started by thinking about how in heck I was gonna find and print off the Koi fish that would be just perfect. I went to google images, then headed over to youtube. I watched and looked about a bazillion (4 to be exact, but bazillion is fun to type) videos. I finally came across one that gave me a basic sketch and encouraged me to personalize it from the basic sketch. I am really proud of my drawn Koi fish. I really wanted it to be much more fluid than the one showed in the video. I wanted it to look like the fins were moving with the flow of the water. Once I had the fish drawn I totally freaked out about adding color to it. So, I set it to the side and began working on my backround.
I used  some music paper from an old music book someone gave us ages ago. I gessoed the paper so, that it would be able to take all the product I planned on using. Now that the Gesso was dry I sprayed Lindy's Stamp gang flat fabio sprays in the colors Ocean breeze blue and Caribbean blue with just a few splatters here and there of Tim Holtz distress stains Broken China. This step is where I went just crazy and buck wild (well, for me anyway). I dropped Black India ink unto the paper in large globs and using a straw I blew the ink around. I am really am happy with the way it came out.  Next, I took one of my Crafter's Workshop stencils (Art is) and used some Gloss medium thru the stencil just like you would modeling paste, paint or ink. I really love that it smudged the words just enough for them to not be completely legible. Once that dried I used my Crafter's workshop stencil that has cup rings and spatters to add some modeling paste and back India ink.
Gulp, it was back to the best picture I had drawn from scratch in ages. Well, I pulled up my big girl panties and broke out the water colors and just started moving them around on the image as I held my breath and hoped beyond hope that I would like it in the end. :)  I walked away for night. The next morning I broke out my markers and began outlining and adding in small details like the spots on the fish and his mustache. I cut the image out from the paper that I drew it on, leaving just a small border. I was so happy with it. I used gel medium to decoupage it to my background.  When I added it to my art journal I decided to add a black border. I am glad I did it really makes it pop for me. The last step was to add the "bubbles" and go around them with black ink to help them stand out more.

I hope you enjoyed looking at and reading about the process.
Have a great day,
Haley


Wednesday, June 19, 2013

Up, Up and away.

I totally love Hot air balloons right now. I looked up some projects about hot air balloons and found THIS   Super cool right??  Then I saw THIS  I really liked the idea of hot air balloon being on the chipboard. My husband is really tall and our ceilings are, well, not. SO hanging anything from the ceiling is a no go.

Here is my completed project, Tutorial to follow.

I recently got some awesome October Afternoon
paper. When I saw this cloud paper I thought I
would never find a use for it. I think it works perfectly with the hot air balloon.


Here is a picture of the template my hubby made me on the computer, printed on a 8 1/2 x 11 sheet of paper.

the "bulb" is 10 inches. The length is 8 inches.


I traced this pattern onto all of my patterned paper. I made a chipboard template. Now I will have one for a long time.

I traced and cut 8 of them.

Next, I folded them in 1/2 length wise. I then glued them back to folded back.

Here are several photo's of them after they have been glued waiting to dry.


 Here I used my crop a dile to add a small hole for threading seambinding.


Here are all the sections glued together.

Now I took a 12x12 sheet of chipboard and paint it or cover it with paper. I chose to cover it with black cardstock.
 next I covered it with this October Afternoon sky paper.
 
 Next, I glued the spine to the paper. If you don't glue the spine down it will flop around.
 Here it is after I glued it down. I also glued the two most end pieces to the back-round.
 Proud of my stitching on this.
 Here it is with me attempting to get tall enough to stand over it and take pics.
I placed a strip of pearls for the body of the butterfly. I had never sewn thru chipboard before. My VERY elderly sewing machine required some assistance, but I really like the way it turned out.
 Here is a close up of the distressing. I punched out a cloud and tucked it in. I really went to town on the edges.
 I love this seam binding. I get it from Cheep trims. It come in 100 yard spools for about 10 bucks. I have white and black. I dye the white one all the time.
A few years ago I was given these "learn Chinese cards" and I have been slowly using them in my projects. I just love them. The bling in the bottom corner came from ETSY. 
 Here are some flowers from my stash pile.

Here is a close up of the trim I used and the lace.
I really hope you enjoyed this and make one for yourself. If you do leave a link down below in the comments.
Happy crafting!!
Haley