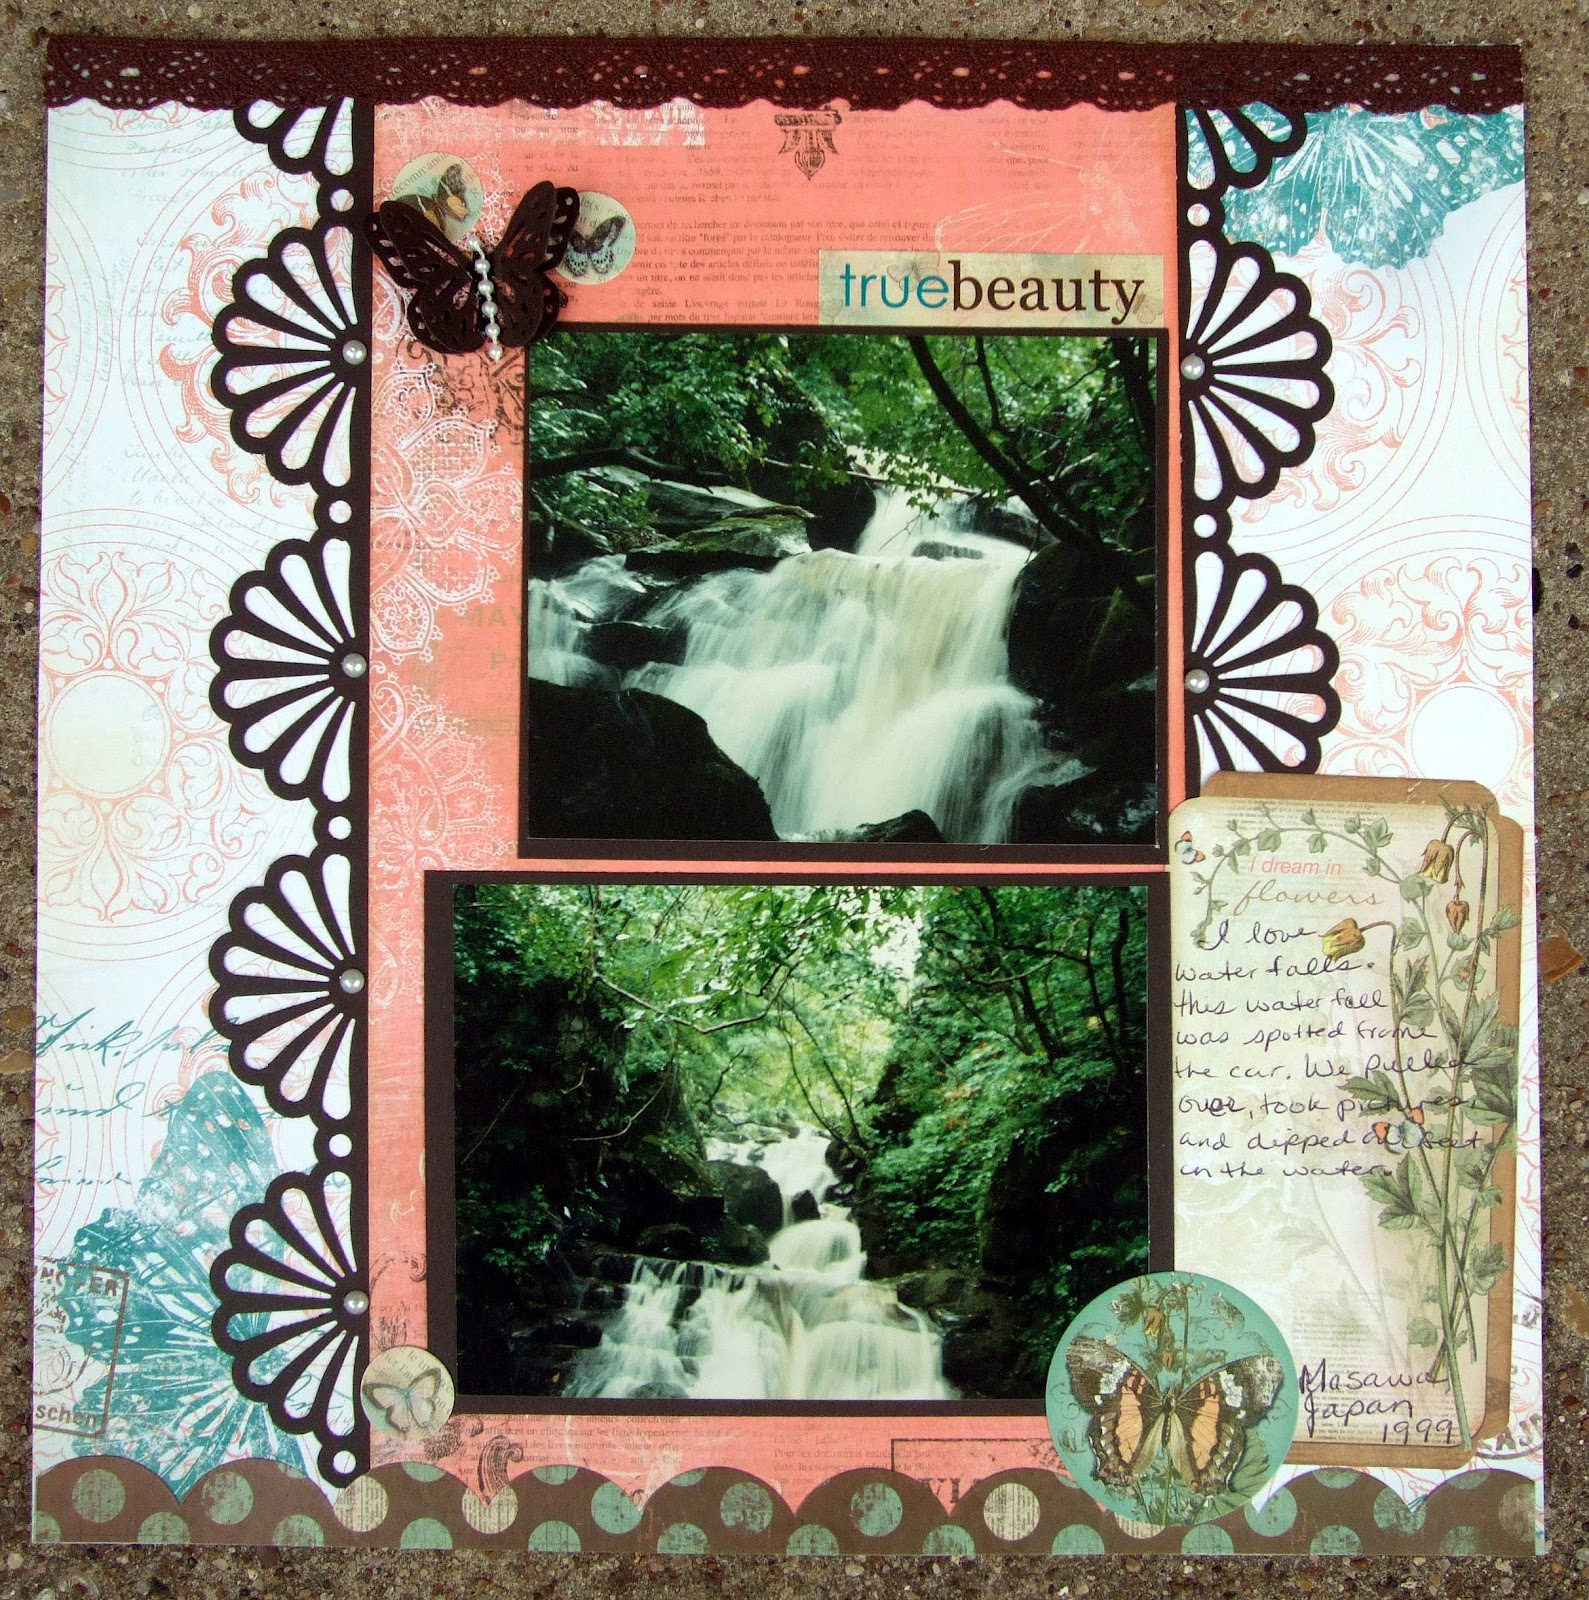
I like a splash of bling every now and again. When I am looking for a bling fix I go see The Queen of bling. Cynthialoowho also has a youtube channel that you will be able to get to if you click above on the words "The Queen of bling". I really loved this project HERE , so I recreated it. I hope you like it.
The paper is "Gabriel" by BOBunny. The flowers are from Wild Orchid Crafts and I Am Roses.
The lace trim, the lace hinge and the lace butterfly are from Cheep trims. The bling is from a wedding supply store. The pearl swirl is from Hobby Lobby. I made the stick pin. If you are interested in making stick pins you can find tons of tutorials on youtube and blogs.
Up to my Neck in Paper is a place for me to share my papercrafting journey. I hope that you will join me and share with me.
Thursday, June 6, 2013
Tuesday, June 4, 2013
I see the light
This year we made the switch from incandescent light bulbs to florescent, leaving me with some recycle craft materials. So, I started browsing the internet for ideas. I found a steam-punk website where they took Christmas tree bulbs and made hot air balloons. That inspired me to make hot air balloons using the light bulbs my husband was going to (gasp) throw away.
It was so easy to make. I made several of these for presents.
Friday, September 21, 2012
I wanted to post some pics of my newest creations. I made a stack of books, two cards and a layout.
I got the inspiration for the stack of books from MsGardengroove on youtube.
The cards are birthday cards. One for a one year old and the other for my wonderful friend.
If you have any questions I am happy to answer them. I would love to hear what you think.
Here is my card for Pickle
Here is the birthday card for my friend Rose.
Here are a few layouts as well.
I have an obsession with washi tape.
I also really loved that everything in this layout is
black and white with punches of color in the
embellishments.
I just love the Martha Stewart punches I have been collect over the past year.
I got the inspiration for the stack of books from MsGardengroove on youtube.
The cards are birthday cards. One for a one year old and the other for my wonderful friend.
If you have any questions I am happy to answer them. I would love to hear what you think.
| I made these glasses out of jewelry wire!! I just love them. |
Here is my card for Pickle
![]() | |
| I got some wooden shapes by Studio Calico for my birthday. I love them. I colored the bird on this card. |
Here is the birthday card for my friend Rose.
Here are a few layouts as well.
I have an obsession with washi tape.
I also really loved that everything in this layout is
black and white with punches of color in the
embellishments.
I just love the Martha Stewart punches I have been collect over the past year.
Wednesday, February 29, 2012
Elmer's glue as a crackle medium.
Hello everyone. I promised that I would post more in depth pictures and tutorials this week, so here is a tutorial on how to use Elmer's gel school glue as a crackle medium.
I know that a lot of you have seen the official Elmer's glue tutorial where the demonstrator paints a wooden, plastic, or ceramic item with paint. Then puts on a thick coat of the regular white glue in a small spot (to prevent drying) with her finger, then paints it quickly with a thin coat of paint and uses a blow dryer or heat tool to dry the item and viola you have a wonderful crackle finished item. If you haven't you can click HERE.
Simple, easy and not to complicated right?? Then why you might wonder am I doing a tutorial. I mean I already told you how, right?? Well, like I said that is the official instructions from Elmer's Glue.
I do it a little different. I know it is hard to believe, but my way is even simpler. It does take a bit more time I will admit. It does not however need** a heat source and it can be used a paper and many other surfaces. Sounds great right?? It is, it really is.
How to get that crackle look with Elmer's gel glue.
Materials you will need are:
Elmer's gel glue
2 Acrylic paints of contrasting colors
paint brush or two
water
towel and the item/s that you wish to crackle
1. pick the object you wish to crackle. I will show you three finished pictures at the end of this post of how the crackle looks on wood, chipboard, and on paper. I also have a sheet of paper that I experimented on with some other paints and I used the the wet glue with a heat source and my preferred method.
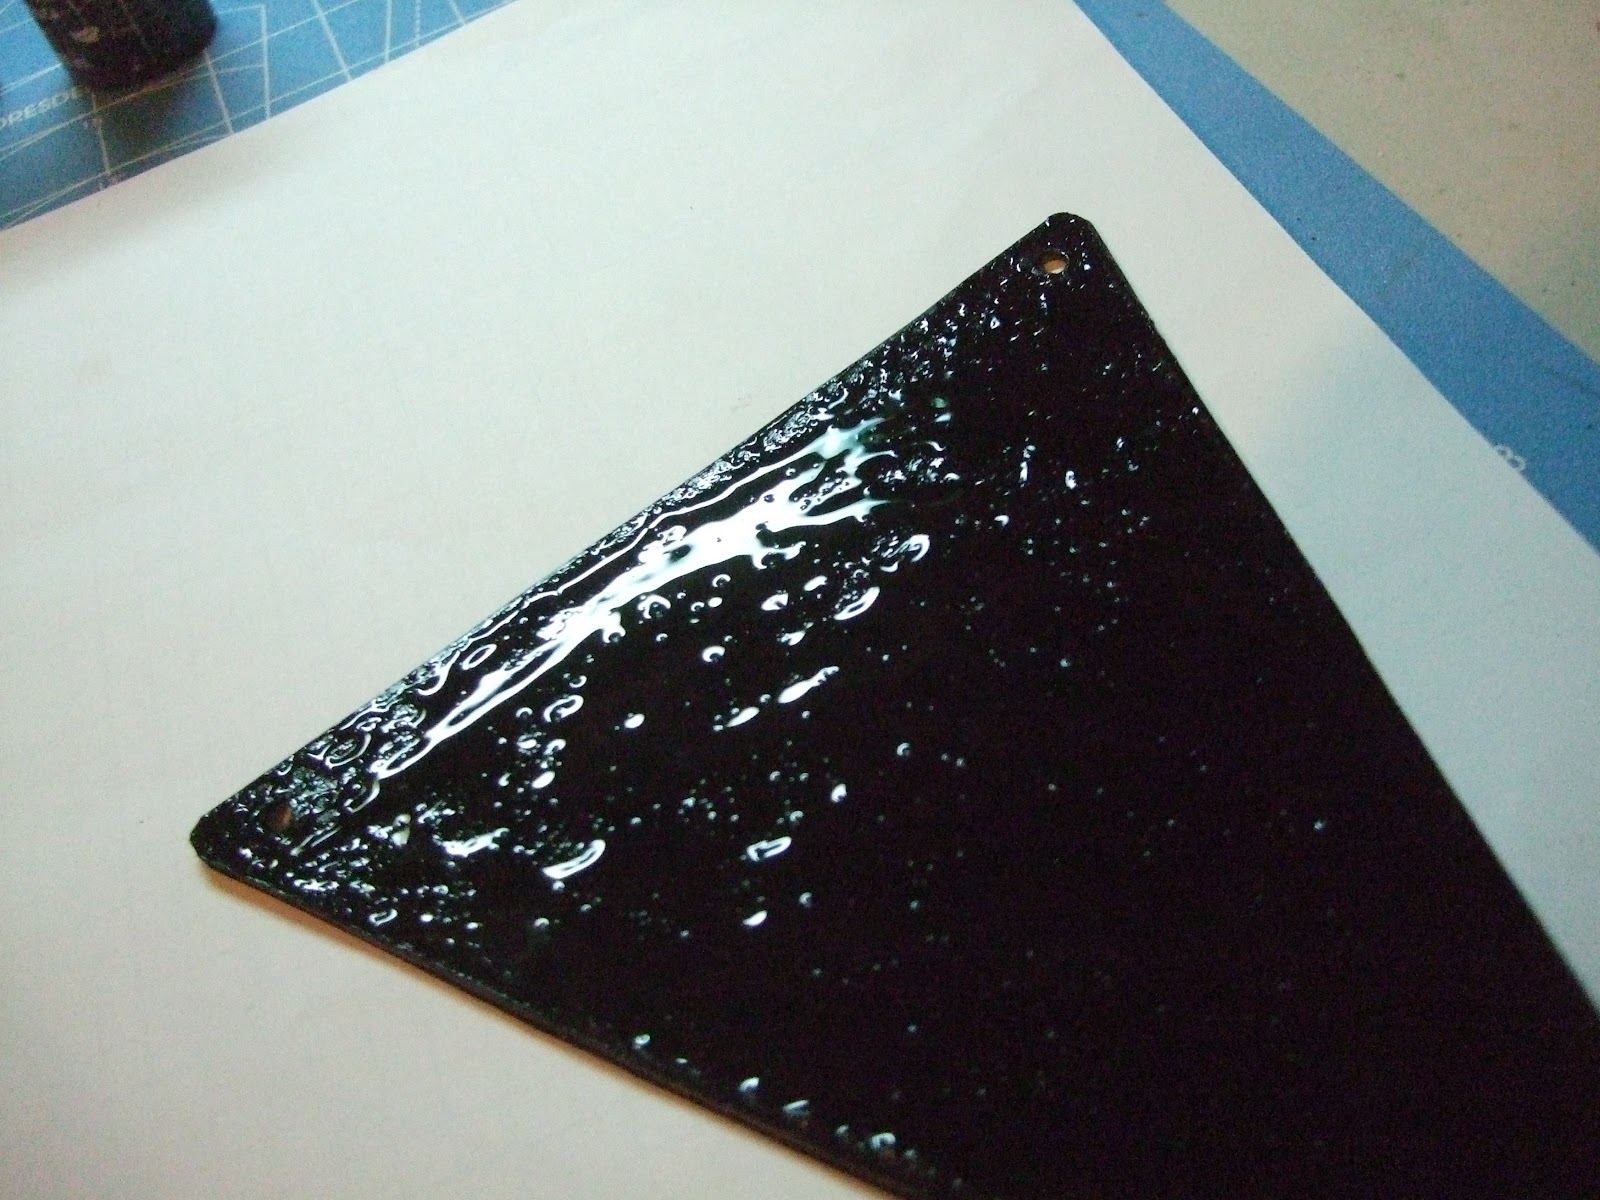
This is a chipboard banner.
Piece of kraft card stock
A rock I found on the beach a few years ago. It totally reminded me a foot, so I painted a flip flop top and toe nails on it. I am not going to paint over the top I am going to paint the other side. This side is way cuter though.
2. paint or stain a contrasting color to the paint you wish to show case. Example if you want the object to be white you want a dark color as the base coat or stain and the opposite if the object will be a dark color.
Use acrylic paints for this. I have used a product called antiquing medium as the base coat/color.
The chipboard banner piece was painted to the black color you see above. The back of the stone was simply painted black. This piece of paper was painted black on one side and stained on the other. Next, I painted Extreme glitter acrylic folk art paint on the stain side and folk art metallic acrylic paint in the color emerald .
3. Once your paint,stain, or antiquing medium has dried, use a paint brush to paint the Elmer's gel glue on top of the dry base coat. You want this glue to be about a medium thickness. Try to spread evenly. Now, let it dry completely. Drying time will depend on how heavy handed you were with the glue, your weather, and size of the object. I personally like to do this type of work in the evening or before bed then put it up on my drying rack and have wonderful crafty dreams. (LOL)
Nice fairly thick coat of gel glue. Now, I have to tuck it away or tomorrow I will find it somewhere in the house with cat fur all over it or more likely a cat walking around with it stuck to them. LOL
Here is our paper right after the glue has been applied. ** If you are in a hurry you can dry the glue with a heat source. (shhhhhhh don't tell anyone you did) ;)
4. Once it is COMPLETELY dry you can paint over it with the paint you want to show on top. I have found that this happens quickly, so use a nice even quick stroke of medium thickness of paint. Do NOT go back over any of the painted area or you will cover up the crackle effect. I will also tell you that I find it best to stay in the same paint stroke direction.
Dry paper.
The banner is dry. If you look at this pic and the finished picture you will that the bog spots are going to have less crackle(ing) to them, so if you don't like the pattern hit with a little more glue. You will find what works best for your projects.
I wanted to make sure I put in a picture of the paper with only one side glued, so that you could see the difference.
Now, for the painting. I put a fair amount of paint on my brush.
Here you can see that I am not even done and it is getting very crackled.
5. Let the item dry. As it dries it will crackle up beautifully. I also like that using this method makes little to no flaking. I love the look of crackled paint , but not the chips of flaked off paint.
This is the banner piece completely dry.
Here is my experimental page. From top to bottom: Paper, then glue then Folk Art Extreme Glitter acrylic paint, Next division Paper painted black, the glue applied then white paint, Next is Stain with a sliver of no treatment at all, then glue then paint. Now about 1/2 way down I put the metallic paint down below that I put the glitter paint then I put the glue on and I heat dried it. Not very good results. On a side note here I don't think that the glitter paint and metallic paint work with this method because they stay wet so long that the glue and the paint mixes and prevents the crackling from happening.
Here is the bottom of the "foot" Wow, does she need some lotion. ;)
While I did not have good results of the heat application one paper I used both methods on the stone "foot" here can you tell which part is which?? Neither can I. It seems to me that the paper and chip board really like the dry between applications method and other objects it does not matter.
This is the effect it has on wood. I did not paint the wood I stained it with the antiquing medium.
I hope this was easy to understand. Please feel free to ask any questions about any area that I made as clear as mud. ;) I hope to see projects where you have used this method. If you do this method come back and leave a comment with a link to your blog post.
Have a scraptastic day everyone!! Happy crafting till next time. - Haley
I know that a lot of you have seen the official Elmer's glue tutorial where the demonstrator paints a wooden, plastic, or ceramic item with paint. Then puts on a thick coat of the regular white glue in a small spot (to prevent drying) with her finger, then paints it quickly with a thin coat of paint and uses a blow dryer or heat tool to dry the item and viola you have a wonderful crackle finished item. If you haven't you can click HERE.
Simple, easy and not to complicated right?? Then why you might wonder am I doing a tutorial. I mean I already told you how, right?? Well, like I said that is the official instructions from Elmer's Glue.
I do it a little different. I know it is hard to believe, but my way is even simpler. It does take a bit more time I will admit. It does not however need** a heat source and it can be used a paper and many other surfaces. Sounds great right?? It is, it really is.
How to get that crackle look with Elmer's gel glue.
Materials you will need are:
Elmer's gel glue
2 Acrylic paints of contrasting colors
paint brush or two
water
towel and the item/s that you wish to crackle
1. pick the object you wish to crackle. I will show you three finished pictures at the end of this post of how the crackle looks on wood, chipboard, and on paper. I also have a sheet of paper that I experimented on with some other paints and I used the the wet glue with a heat source and my preferred method.
This is a chipboard banner.
Piece of kraft card stock
A rock I found on the beach a few years ago. It totally reminded me a foot, so I painted a flip flop top and toe nails on it. I am not going to paint over the top I am going to paint the other side. This side is way cuter though.
2. paint or stain a contrasting color to the paint you wish to show case. Example if you want the object to be white you want a dark color as the base coat or stain and the opposite if the object will be a dark color.
Use acrylic paints for this. I have used a product called antiquing medium as the base coat/color.
The chipboard banner piece was painted to the black color you see above. The back of the stone was simply painted black. This piece of paper was painted black on one side and stained on the other. Next, I painted Extreme glitter acrylic folk art paint on the stain side and folk art metallic acrylic paint in the color emerald .
3. Once your paint,stain, or antiquing medium has dried, use a paint brush to paint the Elmer's gel glue on top of the dry base coat. You want this glue to be about a medium thickness. Try to spread evenly. Now, let it dry completely. Drying time will depend on how heavy handed you were with the glue, your weather, and size of the object. I personally like to do this type of work in the evening or before bed then put it up on my drying rack and have wonderful crafty dreams. (LOL)
Nice fairly thick coat of gel glue. Now, I have to tuck it away or tomorrow I will find it somewhere in the house with cat fur all over it or more likely a cat walking around with it stuck to them. LOL
Here is our paper right after the glue has been applied. ** If you are in a hurry you can dry the glue with a heat source. (shhhhhhh don't tell anyone you did) ;)
4. Once it is COMPLETELY dry you can paint over it with the paint you want to show on top. I have found that this happens quickly, so use a nice even quick stroke of medium thickness of paint. Do NOT go back over any of the painted area or you will cover up the crackle effect. I will also tell you that I find it best to stay in the same paint stroke direction.
Dry paper.
The banner is dry. If you look at this pic and the finished picture you will that the bog spots are going to have less crackle(ing) to them, so if you don't like the pattern hit with a little more glue. You will find what works best for your projects.
I wanted to make sure I put in a picture of the paper with only one side glued, so that you could see the difference.
Now, for the painting. I put a fair amount of paint on my brush.
Here you can see that I am not even done and it is getting very crackled.
5. Let the item dry. As it dries it will crackle up beautifully. I also like that using this method makes little to no flaking. I love the look of crackled paint , but not the chips of flaked off paint.
This is the banner piece completely dry.
Here is my experimental page. From top to bottom: Paper, then glue then Folk Art Extreme Glitter acrylic paint, Next division Paper painted black, the glue applied then white paint, Next is Stain with a sliver of no treatment at all, then glue then paint. Now about 1/2 way down I put the metallic paint down below that I put the glitter paint then I put the glue on and I heat dried it. Not very good results. On a side note here I don't think that the glitter paint and metallic paint work with this method because they stay wet so long that the glue and the paint mixes and prevents the crackling from happening.
Here is the bottom of the "foot" Wow, does she need some lotion. ;)
While I did not have good results of the heat application one paper I used both methods on the stone "foot" here can you tell which part is which?? Neither can I. It seems to me that the paper and chip board really like the dry between applications method and other objects it does not matter.
This is the effect it has on wood. I did not paint the wood I stained it with the antiquing medium.
I hope this was easy to understand. Please feel free to ask any questions about any area that I made as clear as mud. ;) I hope to see projects where you have used this method. If you do this method come back and leave a comment with a link to your blog post.
Have a scraptastic day everyone!! Happy crafting till next time. - Haley
Subscribe to:
Posts (Atom)